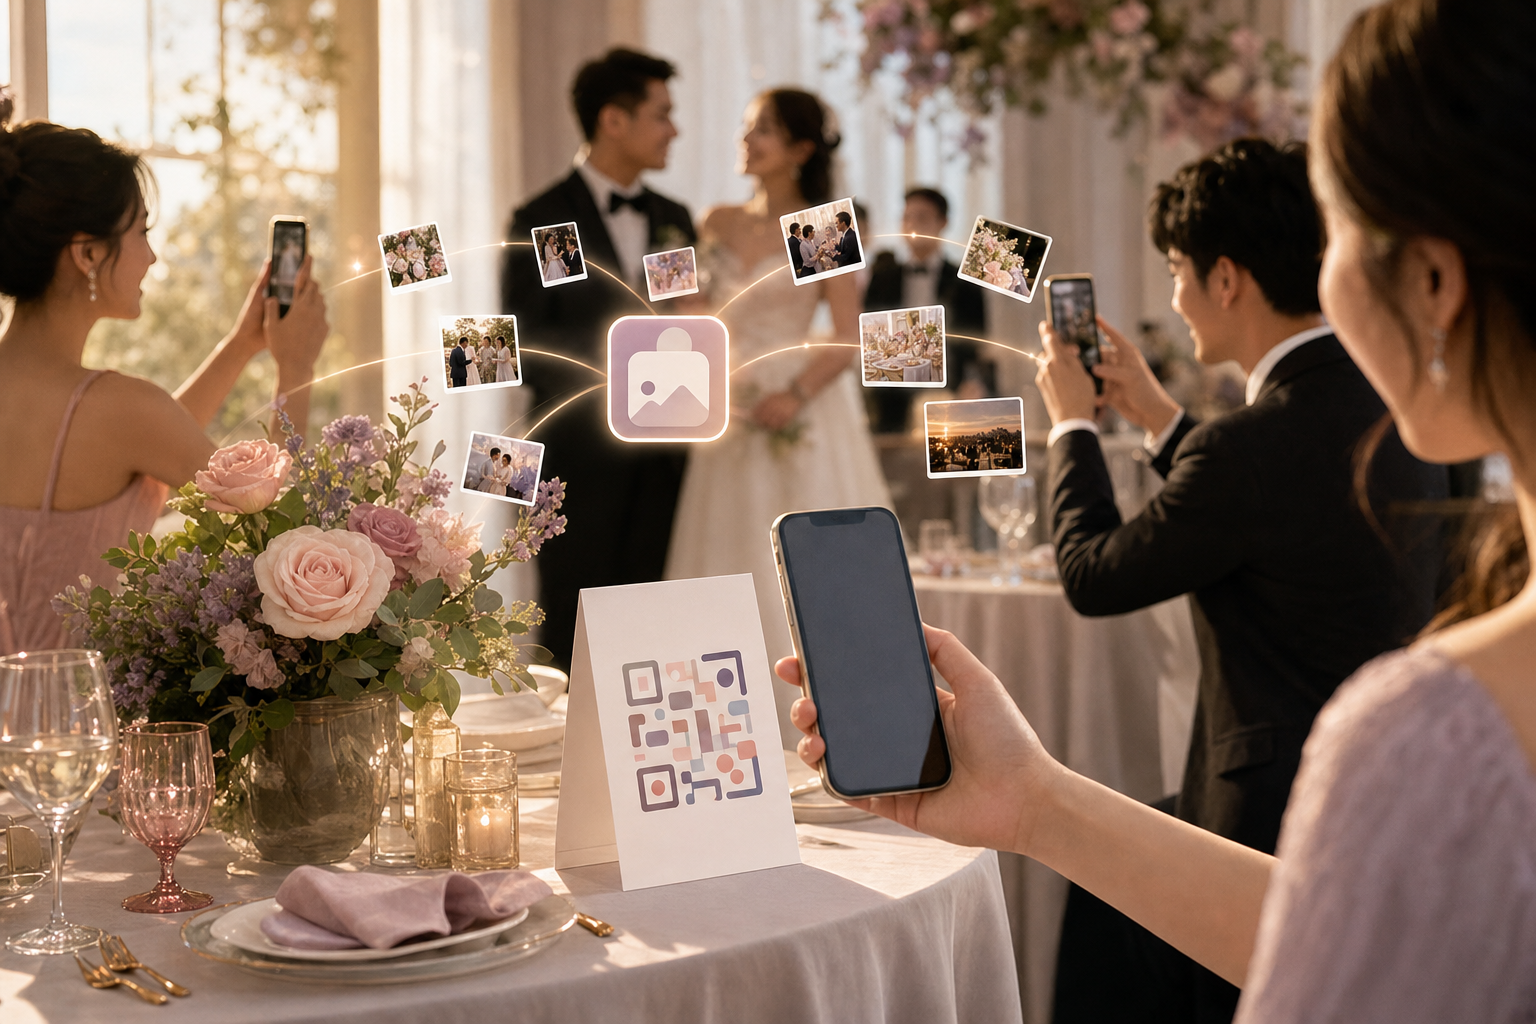
Your guests will take hundreds of photos on your wedding day. The question is: how do you actually get them back?
A dedicated QR code changes the answer completely. Instead of chasing hashtags across three social platforms, you create one private event gallery. Guests scan, upload, done. This guide walks you through the full process — from creating your event on sync.camera to bulk-downloading the final album after the honeymoon.
Why QR Code Photo Sharing Works at Weddings
The problem with hashtag-only collection
Wedding hashtags feel clever on the save-the-date. In practice, they scatter your photos across Instagram, Facebook, and TikTok — each locked inside a different app, each compressed to that platform's specs. You rarely get full-resolution originals back. Some guests post privately. Some don't post at all. And the moment a platform changes its algorithm, that hashtag search returns results you never expected.
There's a deeper problem too. Every photo posted publicly with your hashtag is visible to anyone who searches it. That includes people you didn't invite.
What a QR code adds that hashtags can't
A dedicated QR code sends every guest to one private gallery rather than a public social feed.
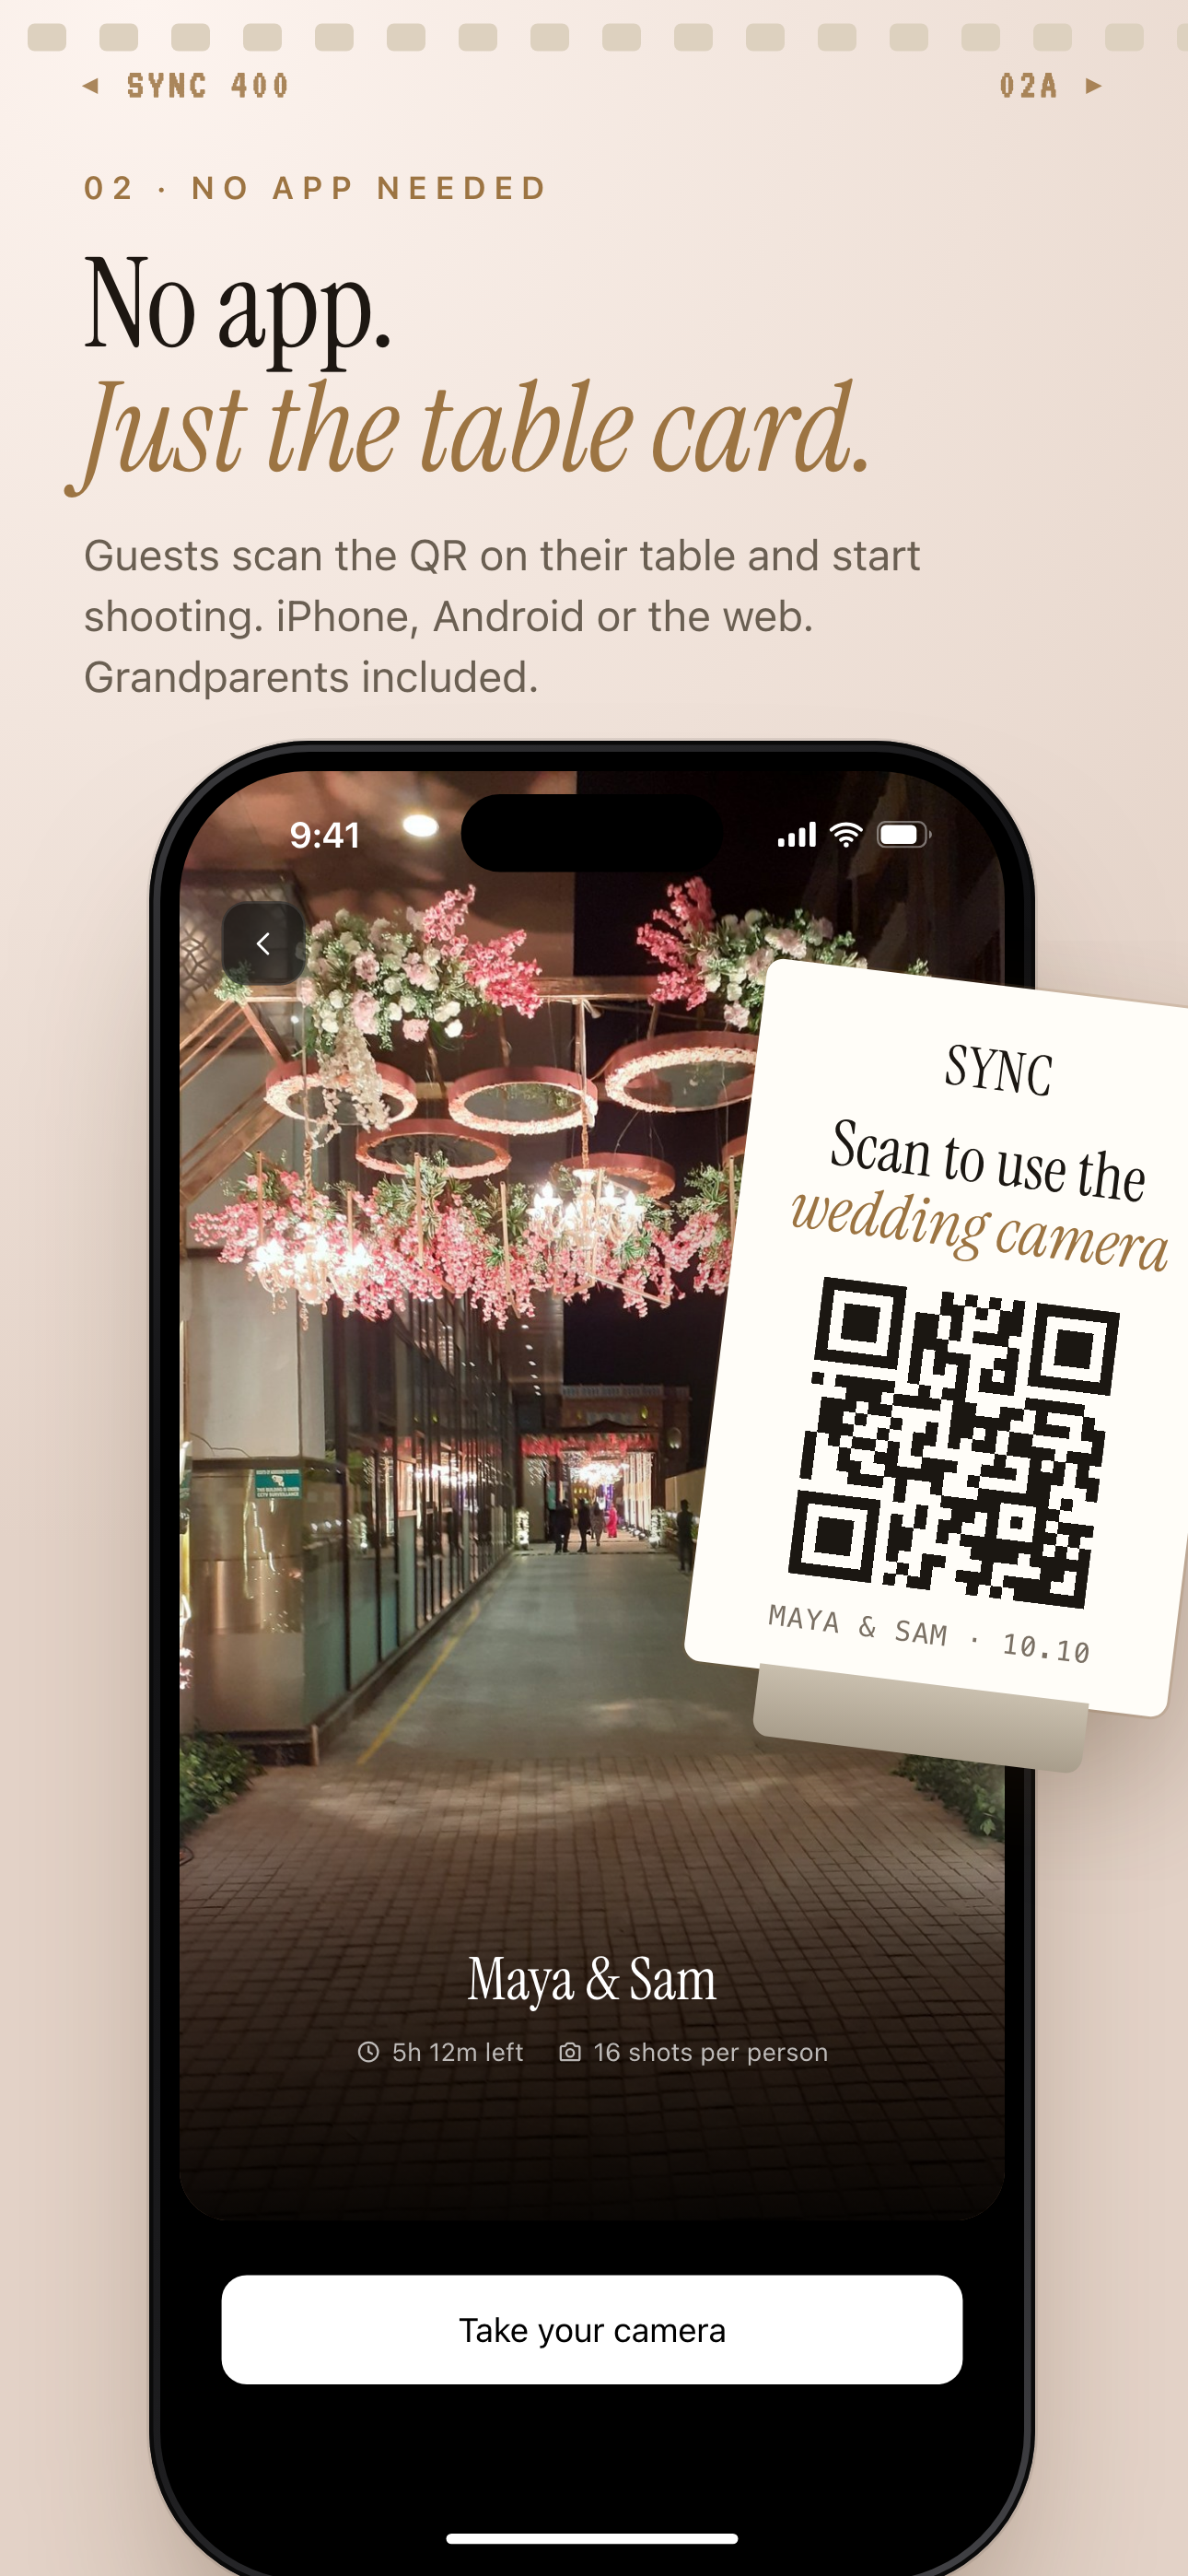 Guests scan the QR code on their table card and land on the wedding's join screen, with no account to create.
Here is what that means in practice. Guests open their phone camera, point it at the QR code, and tap the link. They land directly in the event gallery. No app store visit. No account creation required on the guest side. One scan is the entire onboarding.
That simplicity matters at a wedding, where guests range from teenagers to grandparents and nobody wants to troubleshoot an app install between courses.
Placement matters for scan rate too. QR codes printed on table centerpieces, order-of-service booklets, or the back of the menu card get seen by every seated guest. A welcome sign at the entrance is a single scan opportunity — easy to miss. The more surfaces you print the code on, the more photos end up in your gallery.
Setting Up Your Wedding Photo Sharing Event
Creating the event and setting the date range
When you create an event on sync.camera, you set a start date and an end date. Only photos taken within that window are eligible for upload. That detail matters more than it sounds.
Set the start date to the morning of your wedding day itself — not the night before — if you want to keep rehearsal-dinner photos out of the main gallery. You can always create a separate event for the rehearsal dinner if you want those captured too.
The end date controls when the upload window closes. Setting it to the day after your wedding gives guests who were up late dancing a chance to upload the next morning.
Choosing how many guests can join
Before you print a single QR code, check your guest count against the plan you're on.
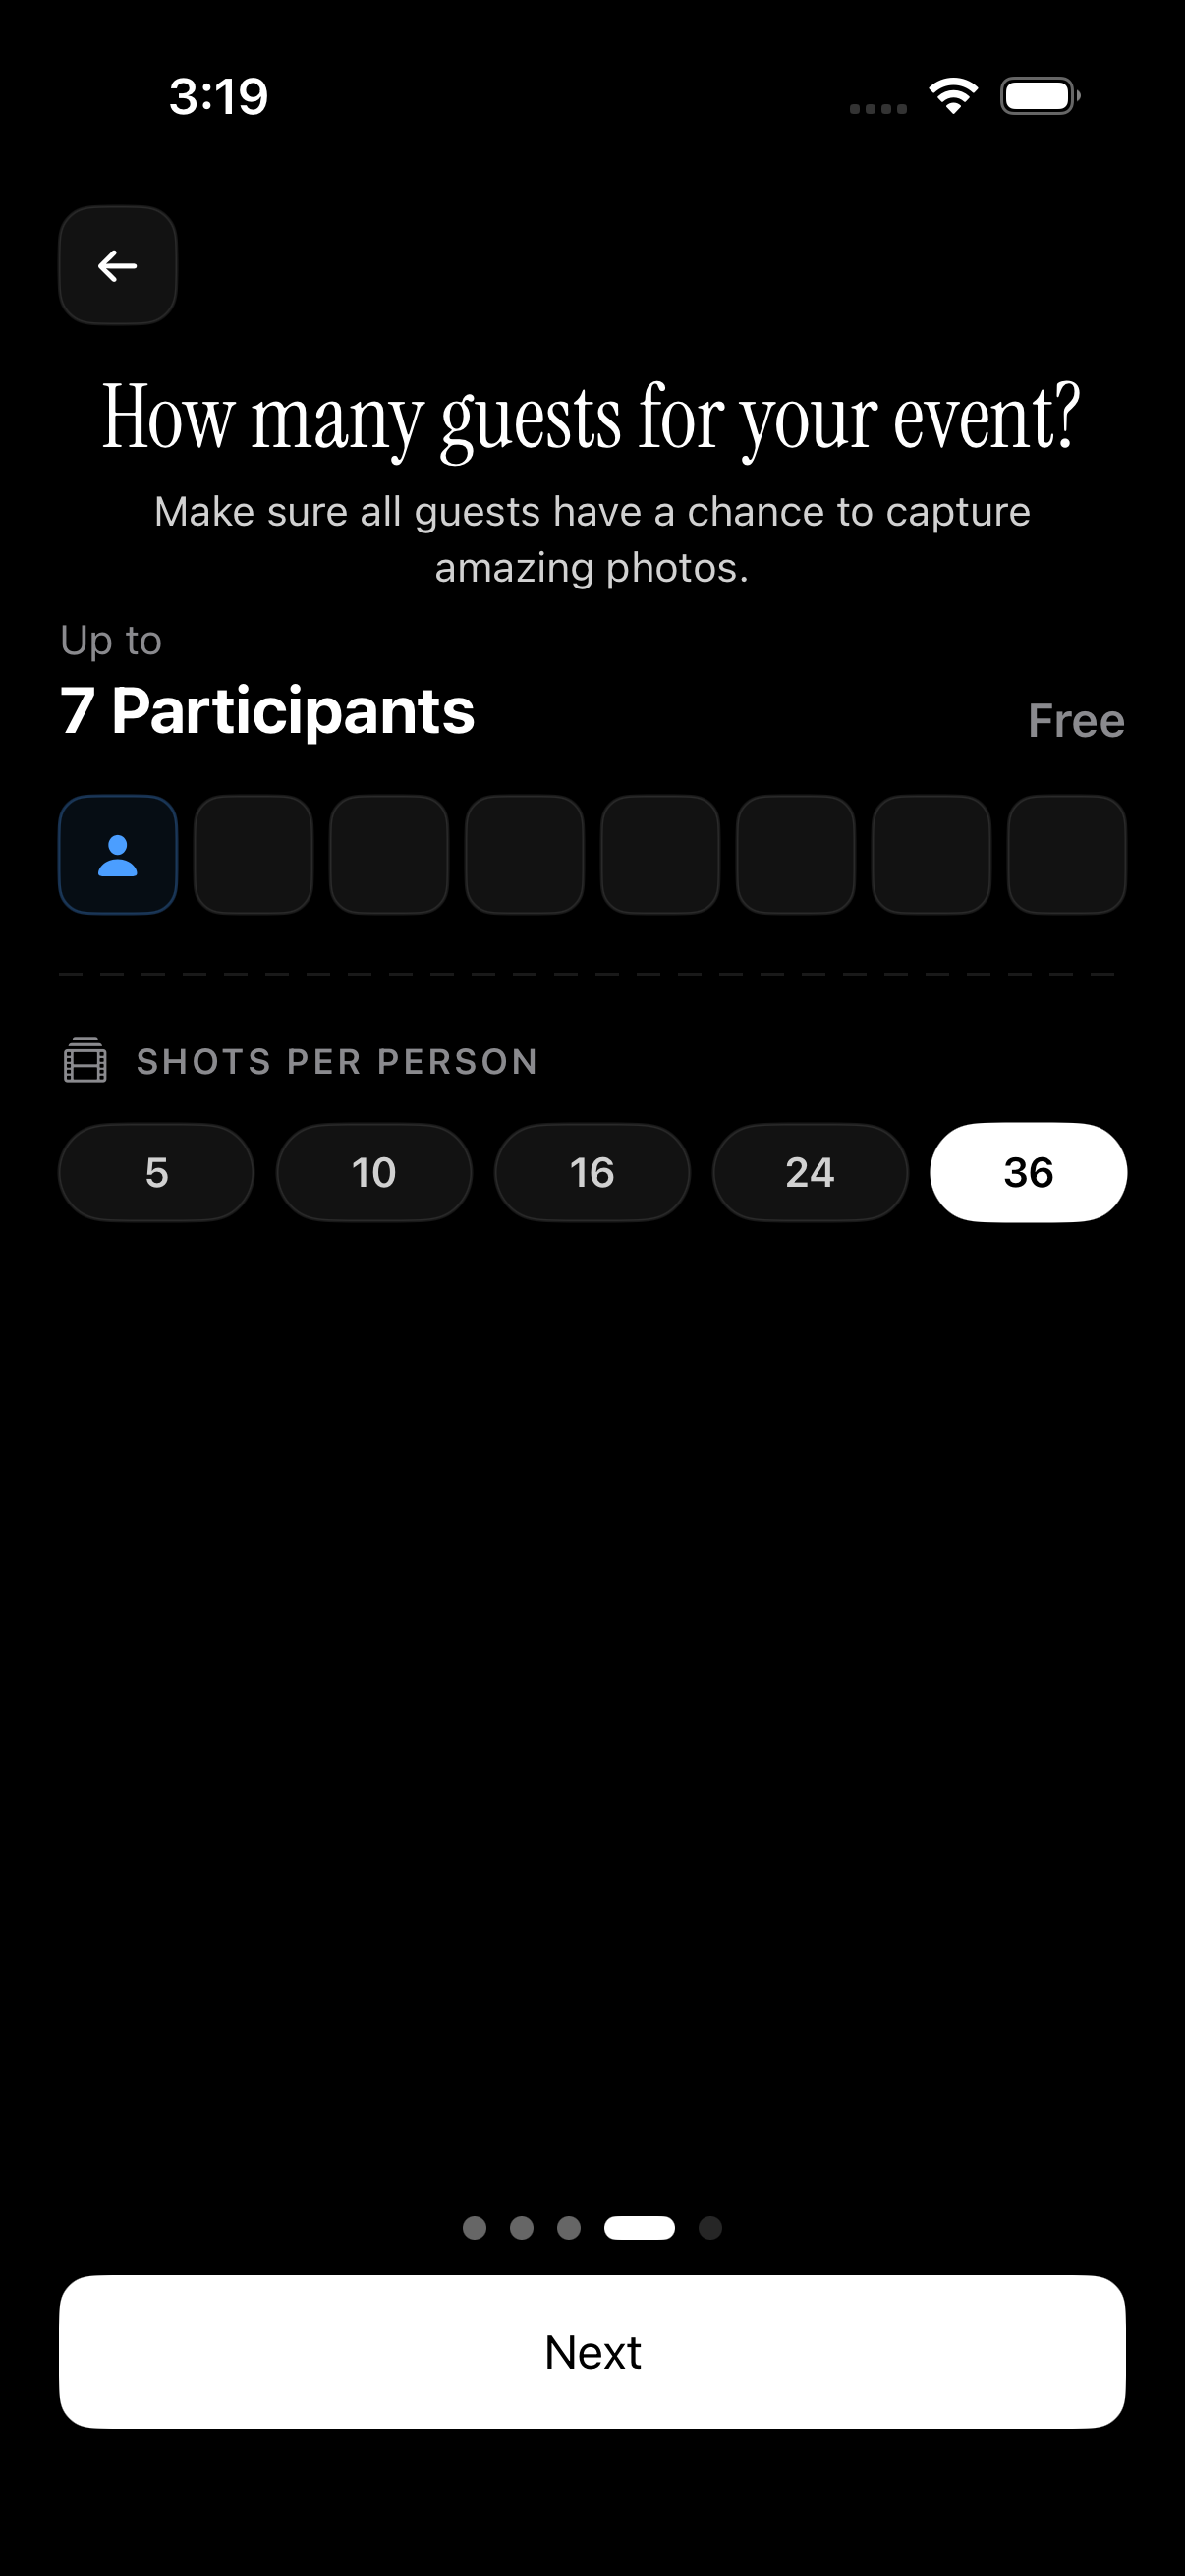 The guest-count screen is where free and paid tiers diverge — size your event before printing the QR code.
Up to 7 guests can join an event on the free plan. That works for an intimate elopement or a small family gathering. For a typical wedding with 80 or 150 guests, you'll need a paid plan. Check the current options on sync.camera's pricing page — plan sizes and pricing do change, so confirm before you commit to printing.
This is the single most important thing to verify before your stationery goes to print. If you're on the wrong plan, late-arriving guests simply can't join.
Sharing the QR code with your wedding party
Once your event is created, sync.camera generates one QR code for the event. You can download it as an image file. That image is safe to embed in your digital wedding invitation, send in a group chat to your wedding party, and hand to your printer for table cards and signage.
One code. One link. Everyone who scans lands in the same gallery.
Consider sending the QR code in the digital invitation a week before the wedding. Guests who pre-join before the day have one less thing to figure out during cocktail hour.
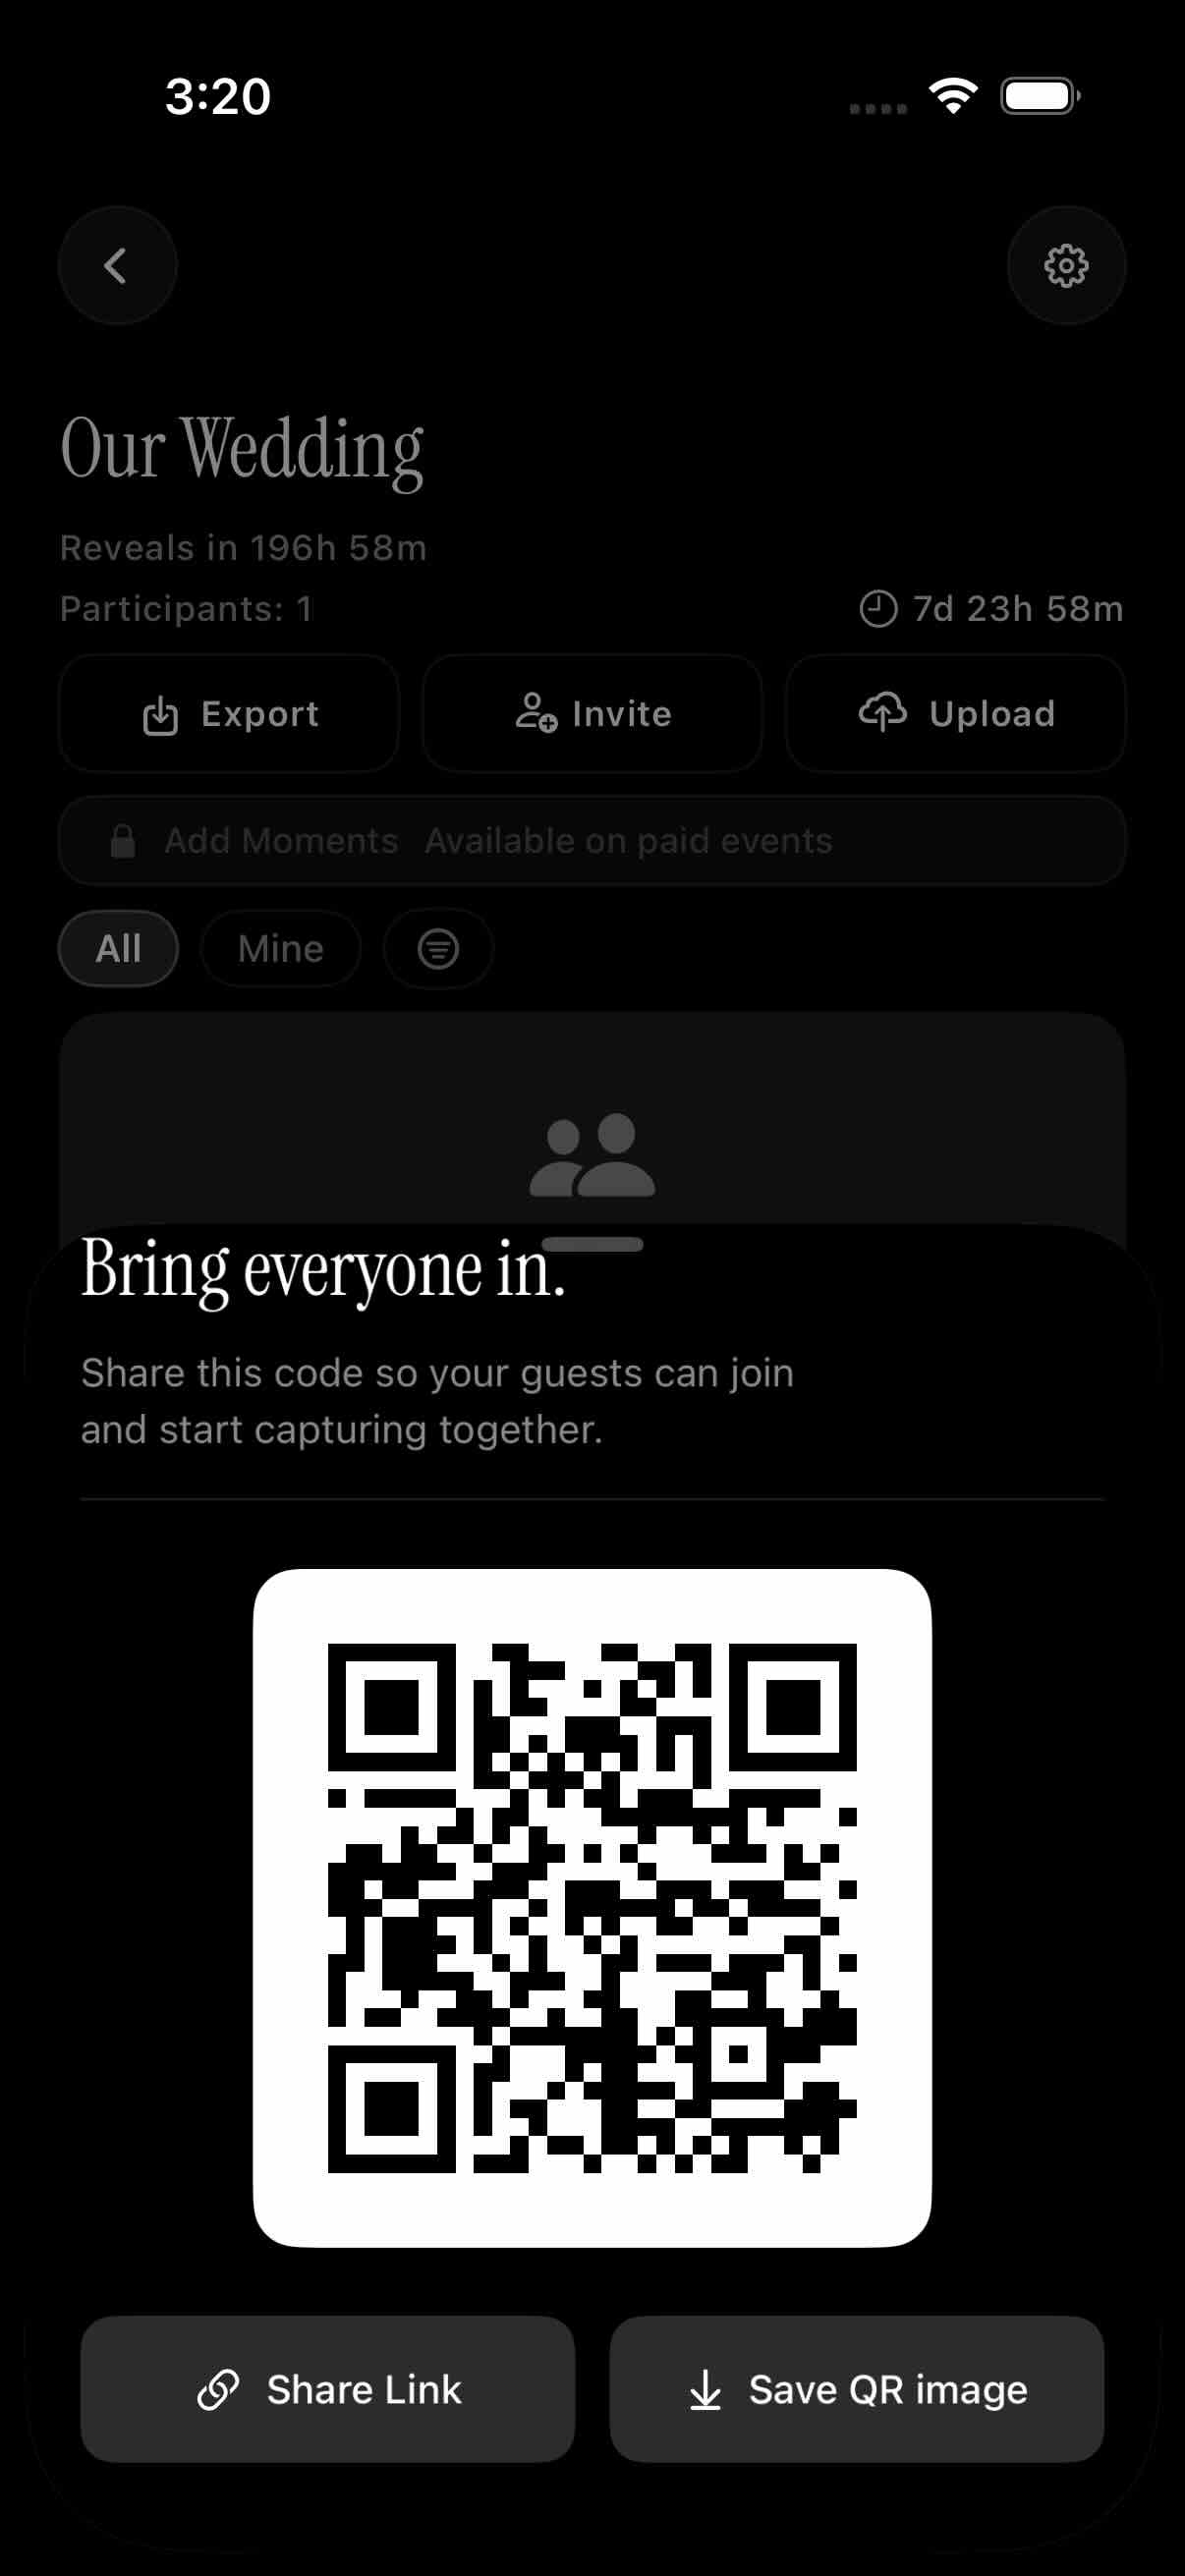
The invite sheet lets the host share the link or save the QR code as an image for cards and invitations.
Controlling When Guests See the Photos (Gallery Reveal)
Three reveal modes: during event, after event, or delayed
This is one of the features that separates a dedicated wedding photo platform from a generic shared folder. You decide when your guests can see the photos — not the platform's default setting.
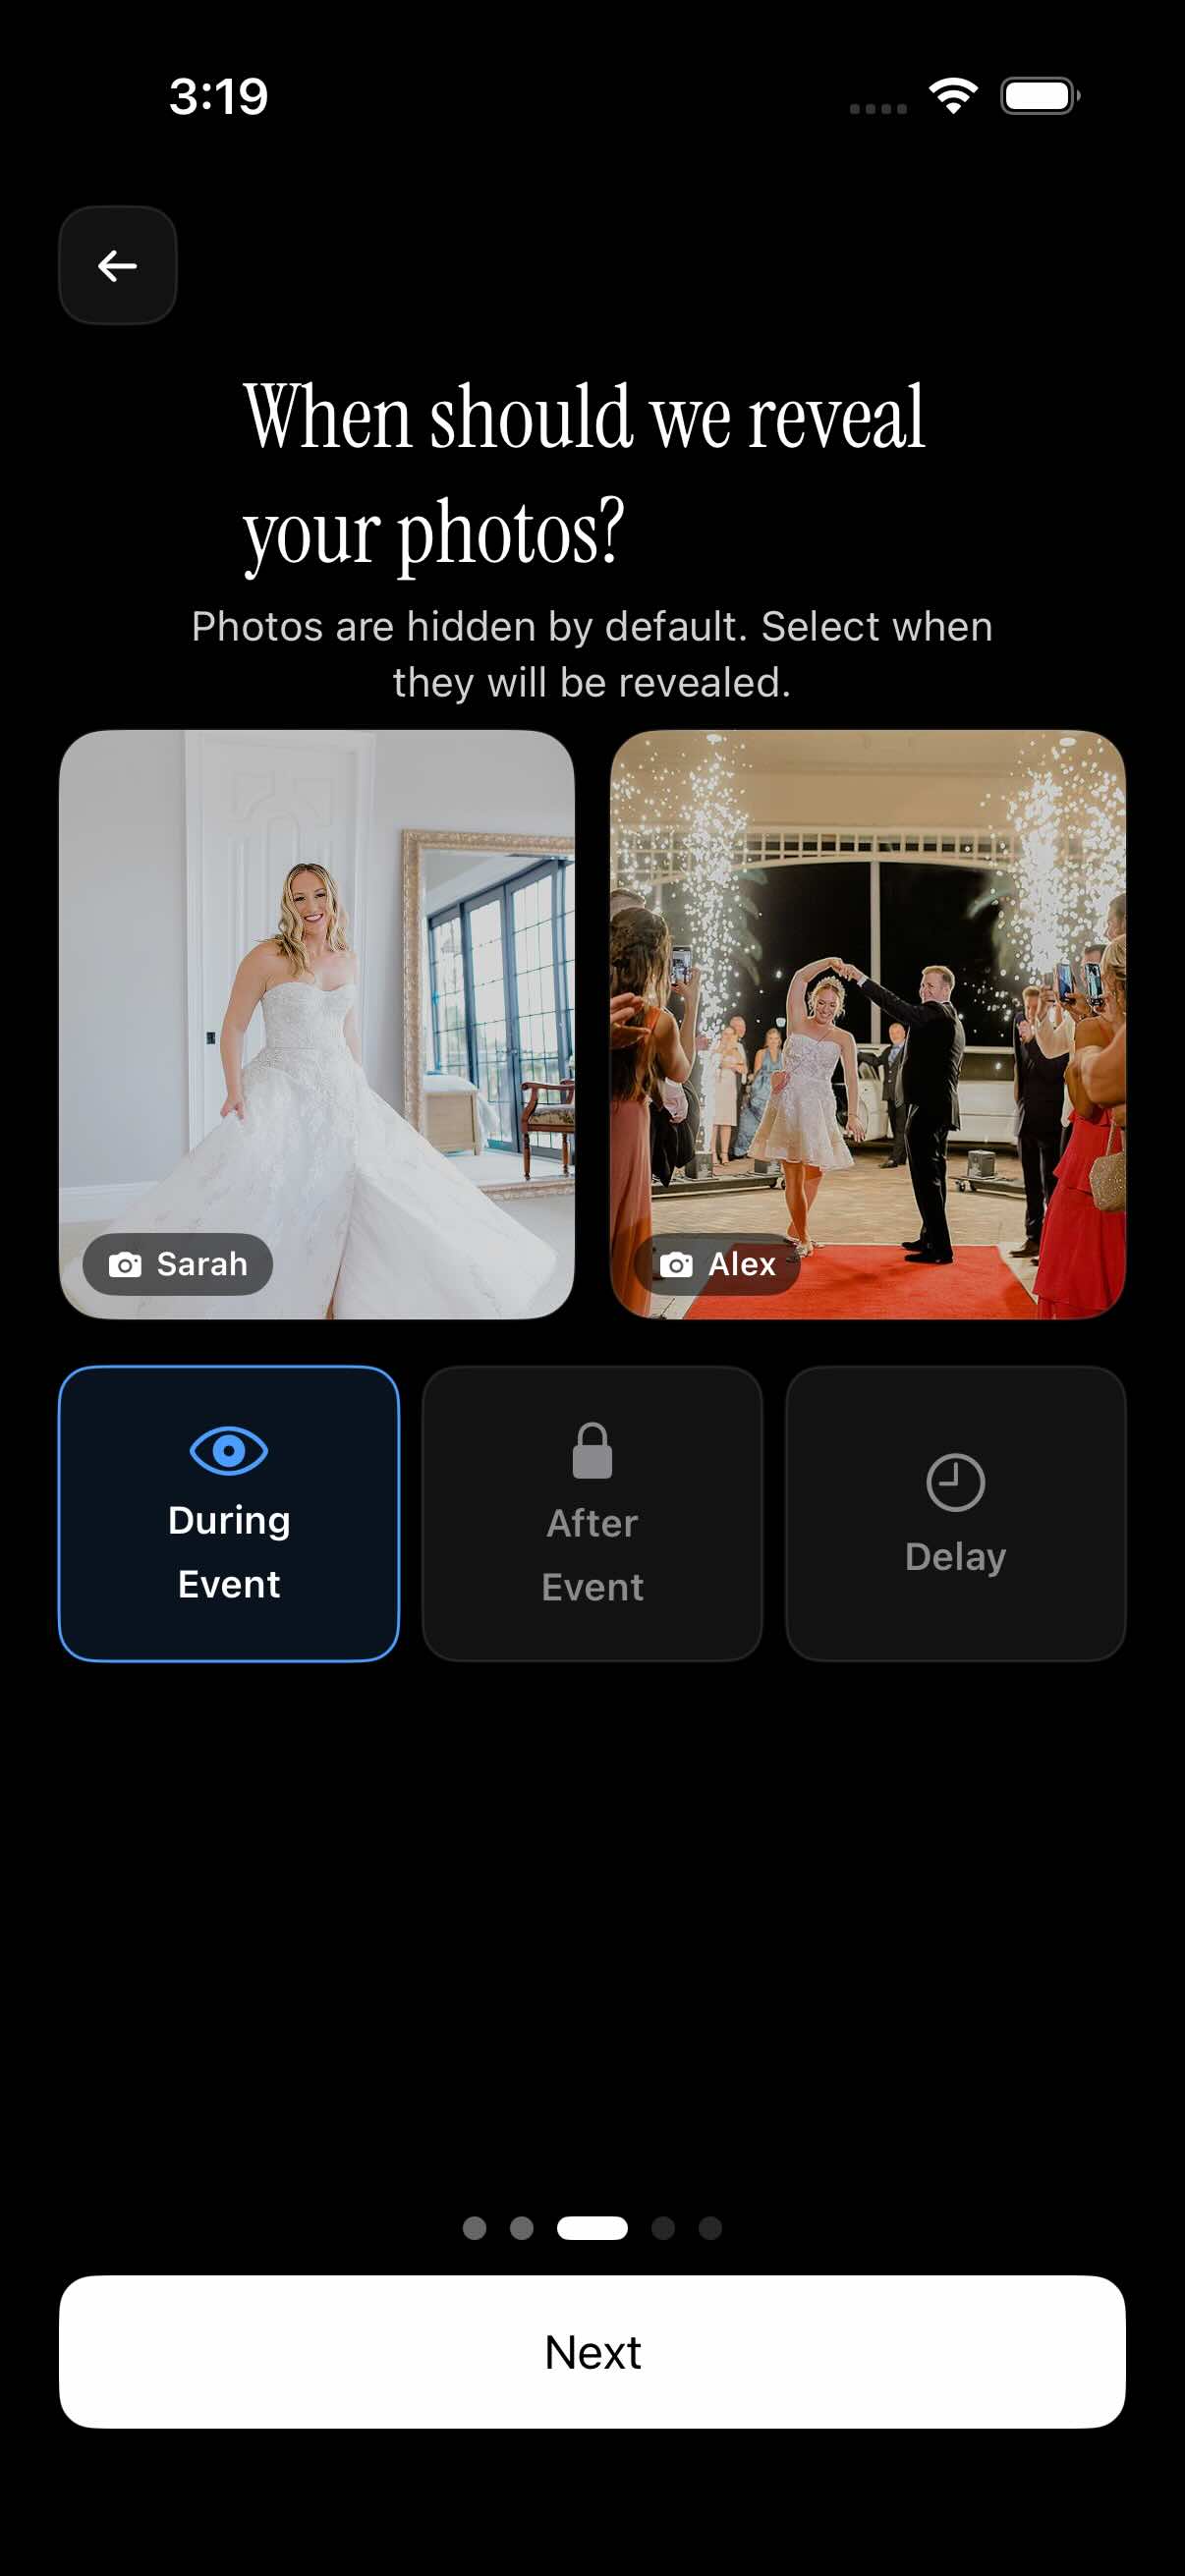 Three reveal options let you choose whether guests see photos in real time, after the event closes, or after a custom delay you set.
The three options work like this:
- During the event. Photos appear in the gallery as guests upload them. Everyone can see everyone else's shots in real time.
- After the event ends. Photos upload normally, but the gallery stays hidden until the event's end date passes. Guests get access once the window closes.
- Delayed reveal. You set a custom delay after the event ends — say, 24 hours or one week. Guests receive a notification when the gallery unlocks.
Why delayed reveal builds anticipation
The delayed reveal option is worth thinking about carefully.
Hiding photos until after the event prevents spoilers if you have a planned surprise — a cake cutting reveal, a first dance that only a few people knew about, or a guest appearance you wanted to keep quiet. Guests can upload immediately, but nobody sees the gallery until you're ready.
For couples who want to review the gallery before sharing it widely, the delay also creates a buffer. You have time to download everything, flag any photos you'd rather keep private, and share the final gallery link when you're ready.
If you want real-time sharing during the reception — photos appearing live on a screen at the venue — the during-event mode supports that. Connect a display to show the gallery as a live feed. Check sync.camera's current feature set to confirm display or slideshow functionality is available on your plan before building it into your reception timeline.
Tips for Getting Guests to Actually Scan and Upload
Placement: where to put QR codes for maximum scans
The best QR code placement is at eye level for a seated guest. Table centerpieces and place cards work well because guests stare at them during dinner. Standing-height signs near the entrance get a single glance — easy to walk past.
Print the QR code on multiple surfaces:
- Table cards at every place setting
- The back of the order-of-service booklet
- A small card tucked into the favour bag
- A digital version in the wedding-day WhatsApp or group chat
More placements means more scans. Redundancy is not overkill here.
Wording: a simple call-to-action that works
Keep the text on the card short. Two lines is ideal:
Scan to add your photos Emma & Daniel's Wedding Gallery
Under ten words total for the instruction. Guests understand QR codes at this point — they don't need instructions on how to scan. They need to know why they're scanning.
Avoid vague phrasing like "Share your memories here." Be specific: scan, add photos, done.
Handling guests who are not tech-savvy
Every wedding has guests who will stare at the QR code and not know what to do with it. Plan for this rather than hoping for the best.
Assign one bridesmaid or groomsman as the unofficial photo wrangler. Their job at the start of the reception is simple: walk the room, help any guest who looks confused, and show them the scan-and-upload flow once. Seeing someone else do it demystifies the whole thing.
Also ask the MC to mention the gallery at three points during the evening: right after the ceremony, before dinner service starts, and at the end of the night. A 15-second reminder from the MC produces more uploads than any number of table cards.
For guests who were pre-invited via the digital invitation, most of this friction disappears — they already joined before the wedding day. Including the QR code in the digital wedding invitation a week early is one of the highest-leverage things you can do.
After the Wedding: Downloading and Organizing Your Gallery
Filtering photos by guest or photographer
Once the event closes and the gallery reveal unlocks, you'll likely have hundreds of photos from dozens of contributors. The filter-by-photographer feature lets you isolate uploads from any individual guest — or your professional photographer, if they uploaded directly to the same event gallery.
This is useful in a few scenarios. You want to find your best friend's candid shots quickly. You want to separate the professional photographer's folder from the phone photos before sharing with family. You want to check whether a specific guest uploaded anything.
The filter does not require guests to create accounts — uploads are tagged to their device identity within the event.
Bulk downloading the full album
Bulk download pulls every photo in the gallery at original resolution. This matters for printing.
A photo shared via Instagram is compressed to fit the platform's file-size limits. The same photo uploaded directly to your sync.camera gallery arrives at full resolution. When you order a 16x20 print for the dining room wall, that difference is visible.
Bulk download the full gallery as soon as the event closes — before you start sharing links or curating. That way you have the unedited originals as a backup regardless of what happens later.
For a deeper comparison of how gallery storage options differ, see sync.camera vs Google Photos.
Sharing the final gallery with family
After the wedding, the gallery link becomes something more: a living photo book that family members who couldn't attend can browse.
The gallery is only accessible via the QR code or the direct invite link — it is not publicly indexed. Grandparents who live abroad, relatives who had a conflict, friends who sent their regrets — you can share the link directly and they can browse the full album without needing an account.
Share the link via a follow-up email a week or two after the wedding, alongside a personal note. It lands better than a social post, and the photos they see will be the full-resolution originals rather than compressed platform versions.
For more on managing gallery privacy and access settings, see event gallery privacy settings. And if you're comparing platforms before you decide, wedding photo app comparison covers the main options side by side.