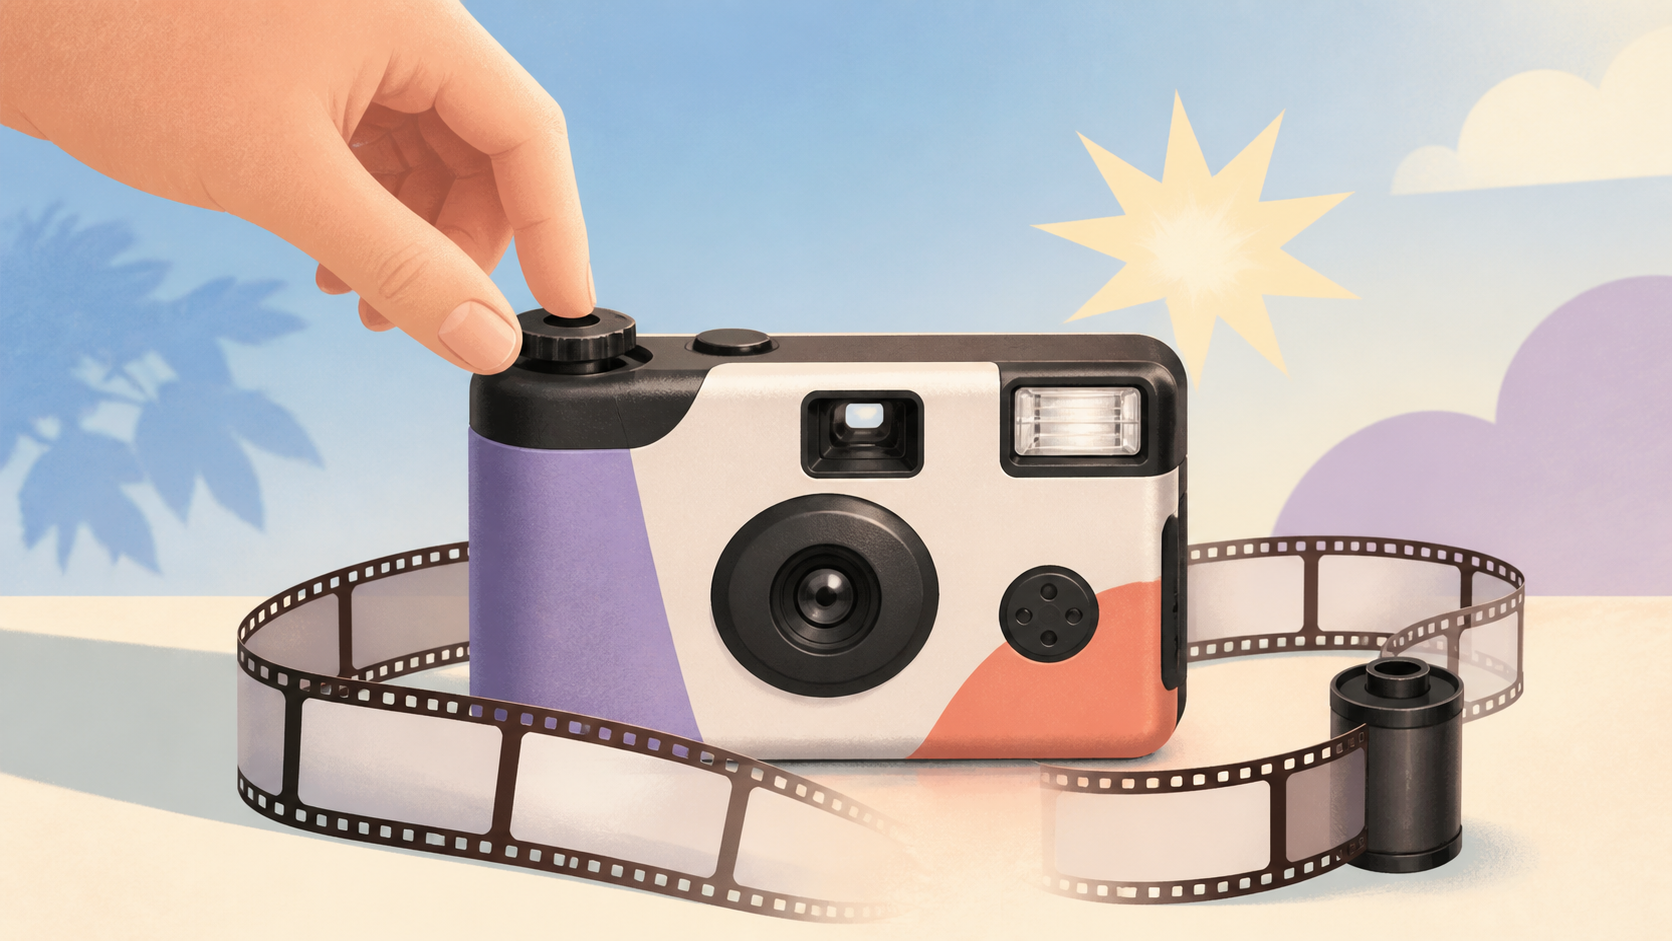
A disposable camera is simple, but it is not forgiving. You cannot preview a photo. You cannot delete a bad one. You usually get a fixed number of frames, then the whole camera has to be developed.
That is also the charm. Each shot feels deliberate. This guide walks through the full workflow: how to shoot, when to use flash, how to protect the film, where to develop it, and how to share the photos after an event without making everything public by default.
How a Disposable Camera Works
A disposable camera, also called a single-use camera, is usually a preloaded 35mm film camera. Many common models come with a fixed number of exposures, such as 27. When the roll is finished, you take or mail the whole camera to a lab.
What the main parts do
Most beginners only need three controls.
The film advance wheel moves the film to the next frame. Turn it with your thumb until it stops. The shutter button takes the photo. The flash button or switch charges the flash for darker scenes.
Some cameras also have a frame counter. It often counts down. If it shows 10, that usually means about 10 shots remain. It does not always mean you have taken 10 photos.
There is no screen. There is no delete button. There is no preview. There is also no phone-style automatic low-light correction. If the scene is dark and you do not use flash, the photo may come back dark.
Why every shot matters
A disposable camera has fixed limits. The lens is small. The exposure settings are basic. Most models have fixed focus, so your subject should usually be at least about 1 meter away.
This does not mean the photos need to be perfect. It means you should pause before each frame. Check the light. Check the distance. Check that your finger is not covering the lens or flash.
How to Use a Disposable Camera Step by Step
Use the same sequence every time: wind, flash if needed, frame, shoot, wind again. That rhythm prevents most beginner problems.
Wind the film
Start by winding the thumbwheel until it stops. This readies the next frame. You should feel the wheel resist when the frame is ready.
If the shutter will not press, the film probably has not been advanced. Wind the wheel again until it stops, then try the shutter.
Turn on the flash when needed
If you are indoors, in shade, outside at night, or shooting a backlit person, turn on the flash before you frame the photo. On many disposable cameras, flash is manual. You may need to press a button or slide a switch, then wait for a ready light.
Do this before the moment happens. Flash takes a few seconds to charge.
Frame and shoot
Look through the viewfinder. Keep your fingers away from the lens and the flash. Hold the camera still. Press the shutter smoothly instead of jabbing it.
For people photos, move close enough to fill the frame. But do not get too close. Fixed-focus cameras are not made for tight close-ups.
Advance to the next photo
After each photo, wind the wheel again until it stops. Then the camera is ready for the next shot.
At the end of the roll, the wheel may stop moving. Do not force it. Forcing the wheel or opening the camera body can damage the camera or expose the undeveloped film.
When to Use the Flash
When in doubt, use flash. Disposable cameras need more light than phones. Fujifilm QuickSnap guidance recommends flash unless it is nice and sunny outside, and lists a flash range of about 1 to 3 meters for QuickSnap models.
Indoor photos
Use flash indoors. This includes restaurants, hotel rooms, reception halls, bars, and homes at night. A room can look bright to your eyes and still be too dim for film.
Kodak FunSaver product information lists ISO 800 film and a manual flash with an effective range of about 1.2 to 3.5 meters. That extra film speed helps, but it does not replace flash in low light.
Shade, evening, and backlight
Use flash in shade, on cloudy days, near sunset, and when the subject has bright light behind them. Backlight can fool a simple camera. The background may look fine while faces go dark.
A quick rule works well: if you would squint at the background but the face is shaded, use flash.
Flash distance
Flash only reaches so far. If your subject is across a dance floor, outside the listed flash range, or far down a street, the flash may not light them enough.
For best results, keep people within the camera's recommended range. Stay close enough for the flash to matter, but not so close that fixed focus becomes a problem.
How to Take Better Disposable Camera Photos
Disposable camera photos look best when you work with the camera's limits. Bright light, steady hands, and simple framing matter more than fancy technique.
Light and distance
Shoot in bright natural light when possible. Disposable cameras usually have small plastic lenses and fixed exposure settings. They do best in daylight.
Keep the subject at least about 1 meter away. This helps avoid soft or blurry photos on fixed-focus cameras. For portraits, step closer than you would with a phone, but stay inside the focus and flash range.
Composition
Put the important person or object near the center. The viewfinder is only an approximation, so leave a little room around faces and edges.
For group photos, check both sides of the viewfinder before pressing the shutter. It is easy to cut off someone at the edge. Ask the group to pause for one second, then press the shutter smoothly.
Common beginner mistakes
Do not shoot while walking or moving quickly. Hold the camera with both hands when you can.
Do not cover the lens with your finger. Do not cover the flash. This happens often because the body is small.
Do not open the camera body. Undeveloped film can be ruined by light. If something feels stuck, stop and ask the lab or camera store before forcing it.
Using Disposable Cameras at Weddings, Parties, and Events
Disposable cameras are fun at events because guests notice moments the host misses. They are good for candid table photos, dance floor pictures, and small in-between scenes. The tradeoff is delay. Nobody sees the photos until the cameras are developed.
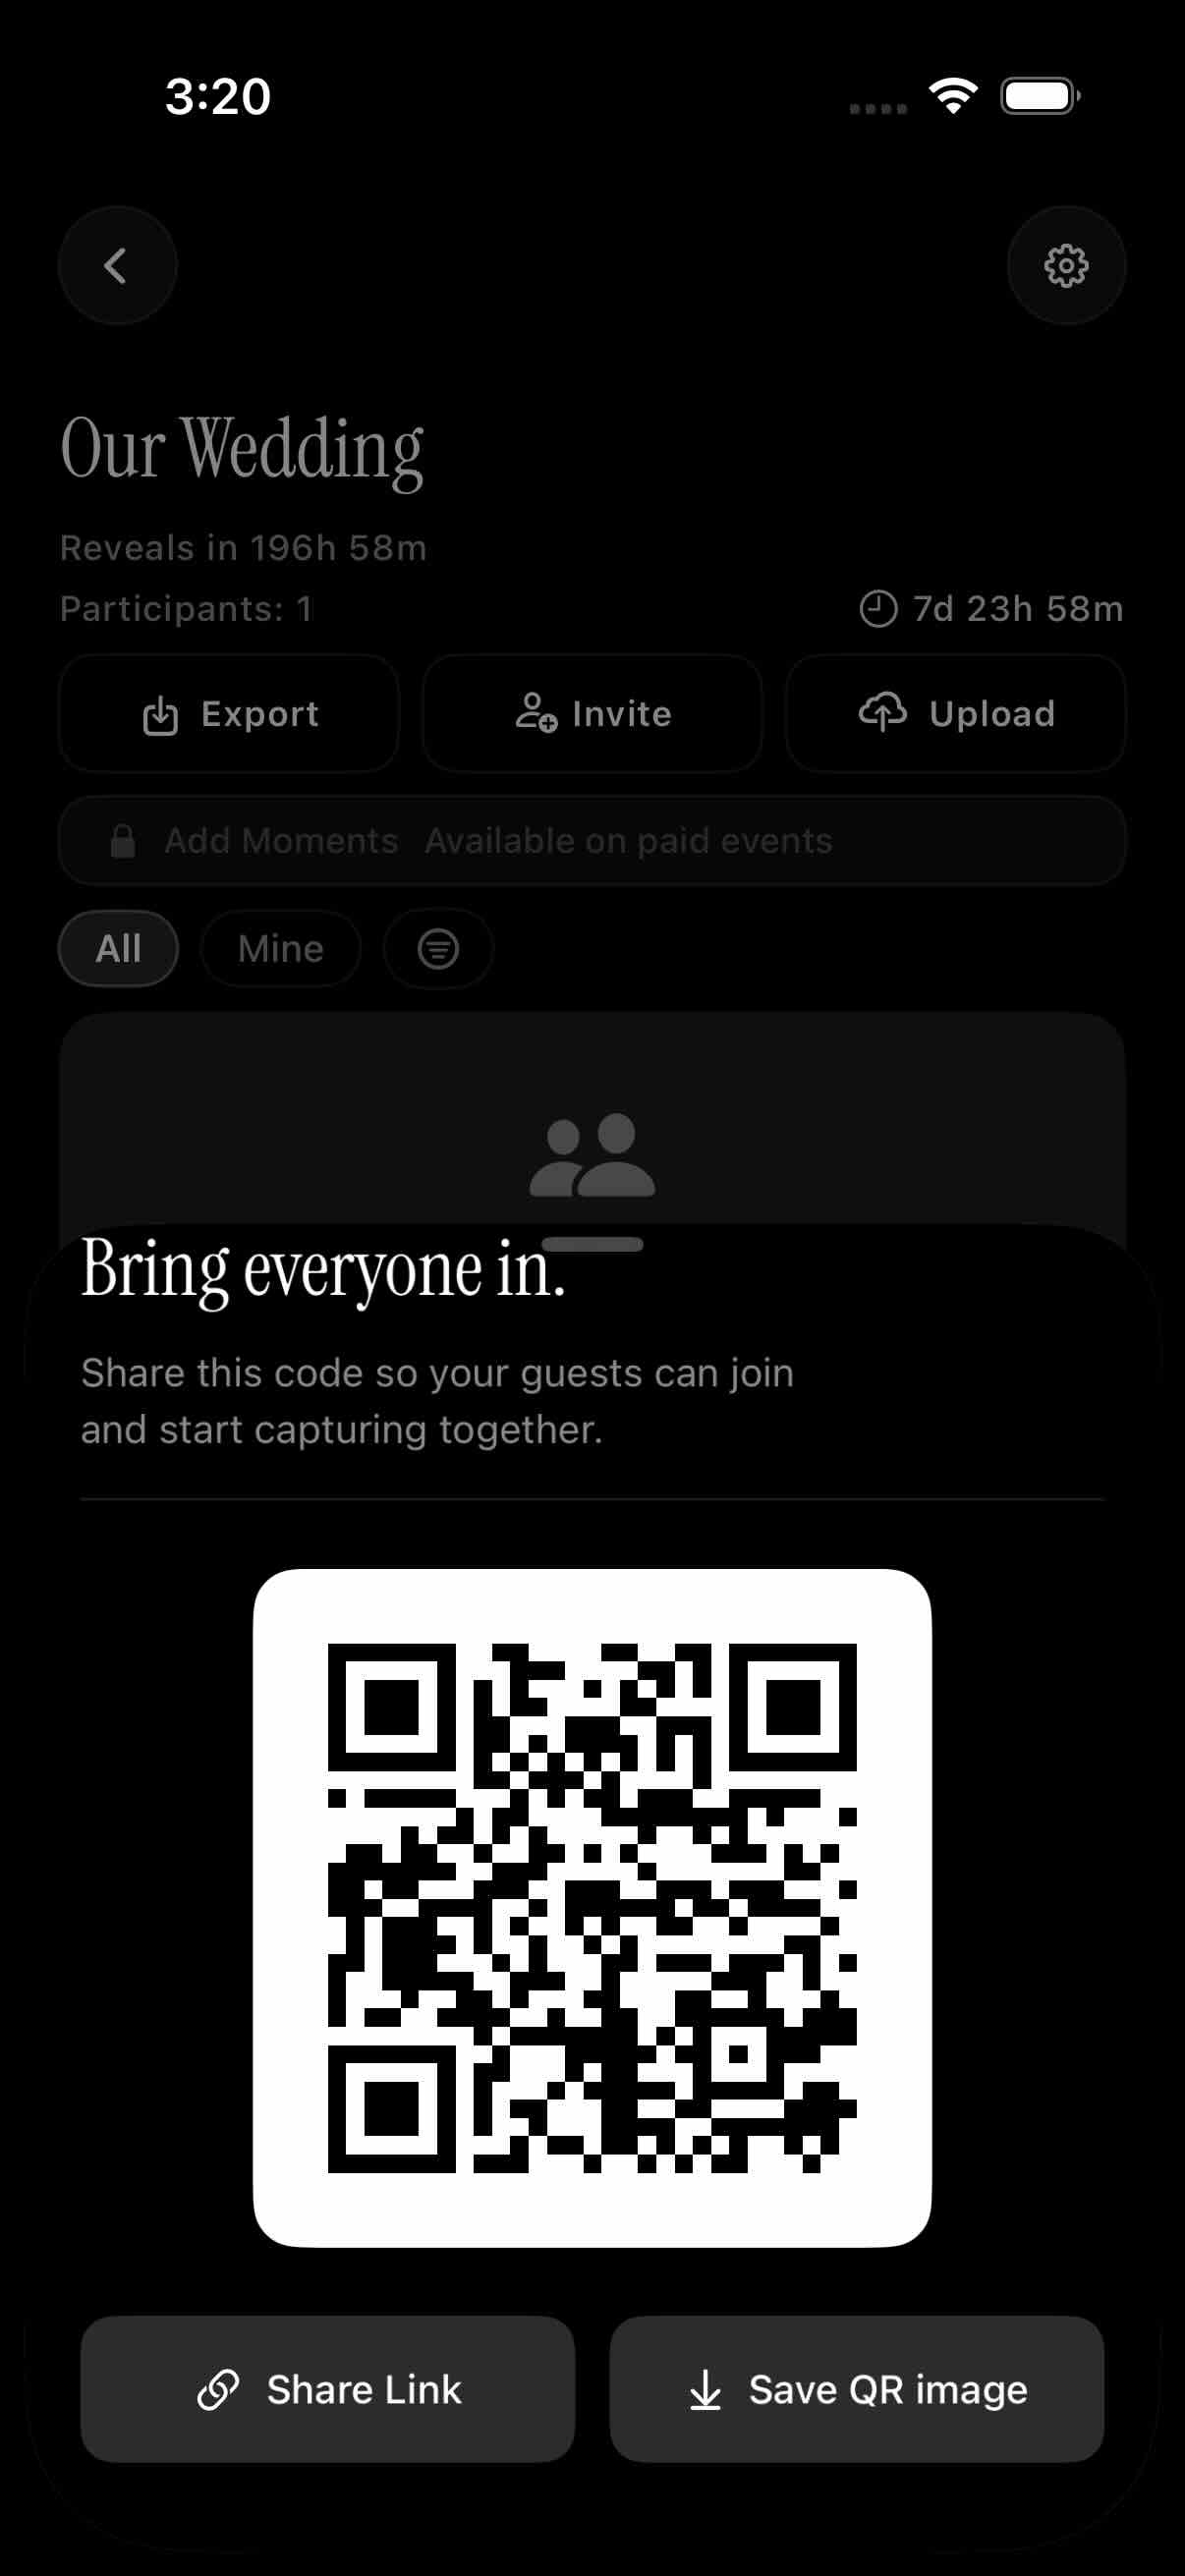 A QR code or invite link gives guests a simple digital path while disposable cameras capture the film look.
Set expectations for guests
Place simple instructions near each camera. Keep them short:
- Use flash indoors.
- Wind after every shot.
- Keep fingers away from the lens and flash.
- Do not open the camera.
- Return the camera before leaving.
This helps guests who have never used a disposable camera before. It also protects the film.
Avoid missing the best photos
Disposable cameras should complement phone photos, not replace them. Guests may take duplicates. Some frames may be blurry. Some may be too dark. Some cameras may not make it back to the host.
For weddings and parties, pair film with a shared digital album. Keep the disposable cameras for texture and surprise. Use phones for the moments people want to see soon.
Pair film with a shared digital album
SYNC is a mobile app for private event photo sharing. Based on the sync.camera homepage, guests can join an event with a QR code or invite link, and no account is required for guests.
That makes it useful beside disposable cameras. A host can collect guest phone photos in one private event album, while still leaving disposable cameras on tables for the film look. SYNC also supports reveal modes, so hosts can choose how the event photos appear.
For the digital side, start with the SYNC event photo sharing app, see How it works, or use Get the app. The app is available through the App Store and Google Play. For setup questions, use Support.
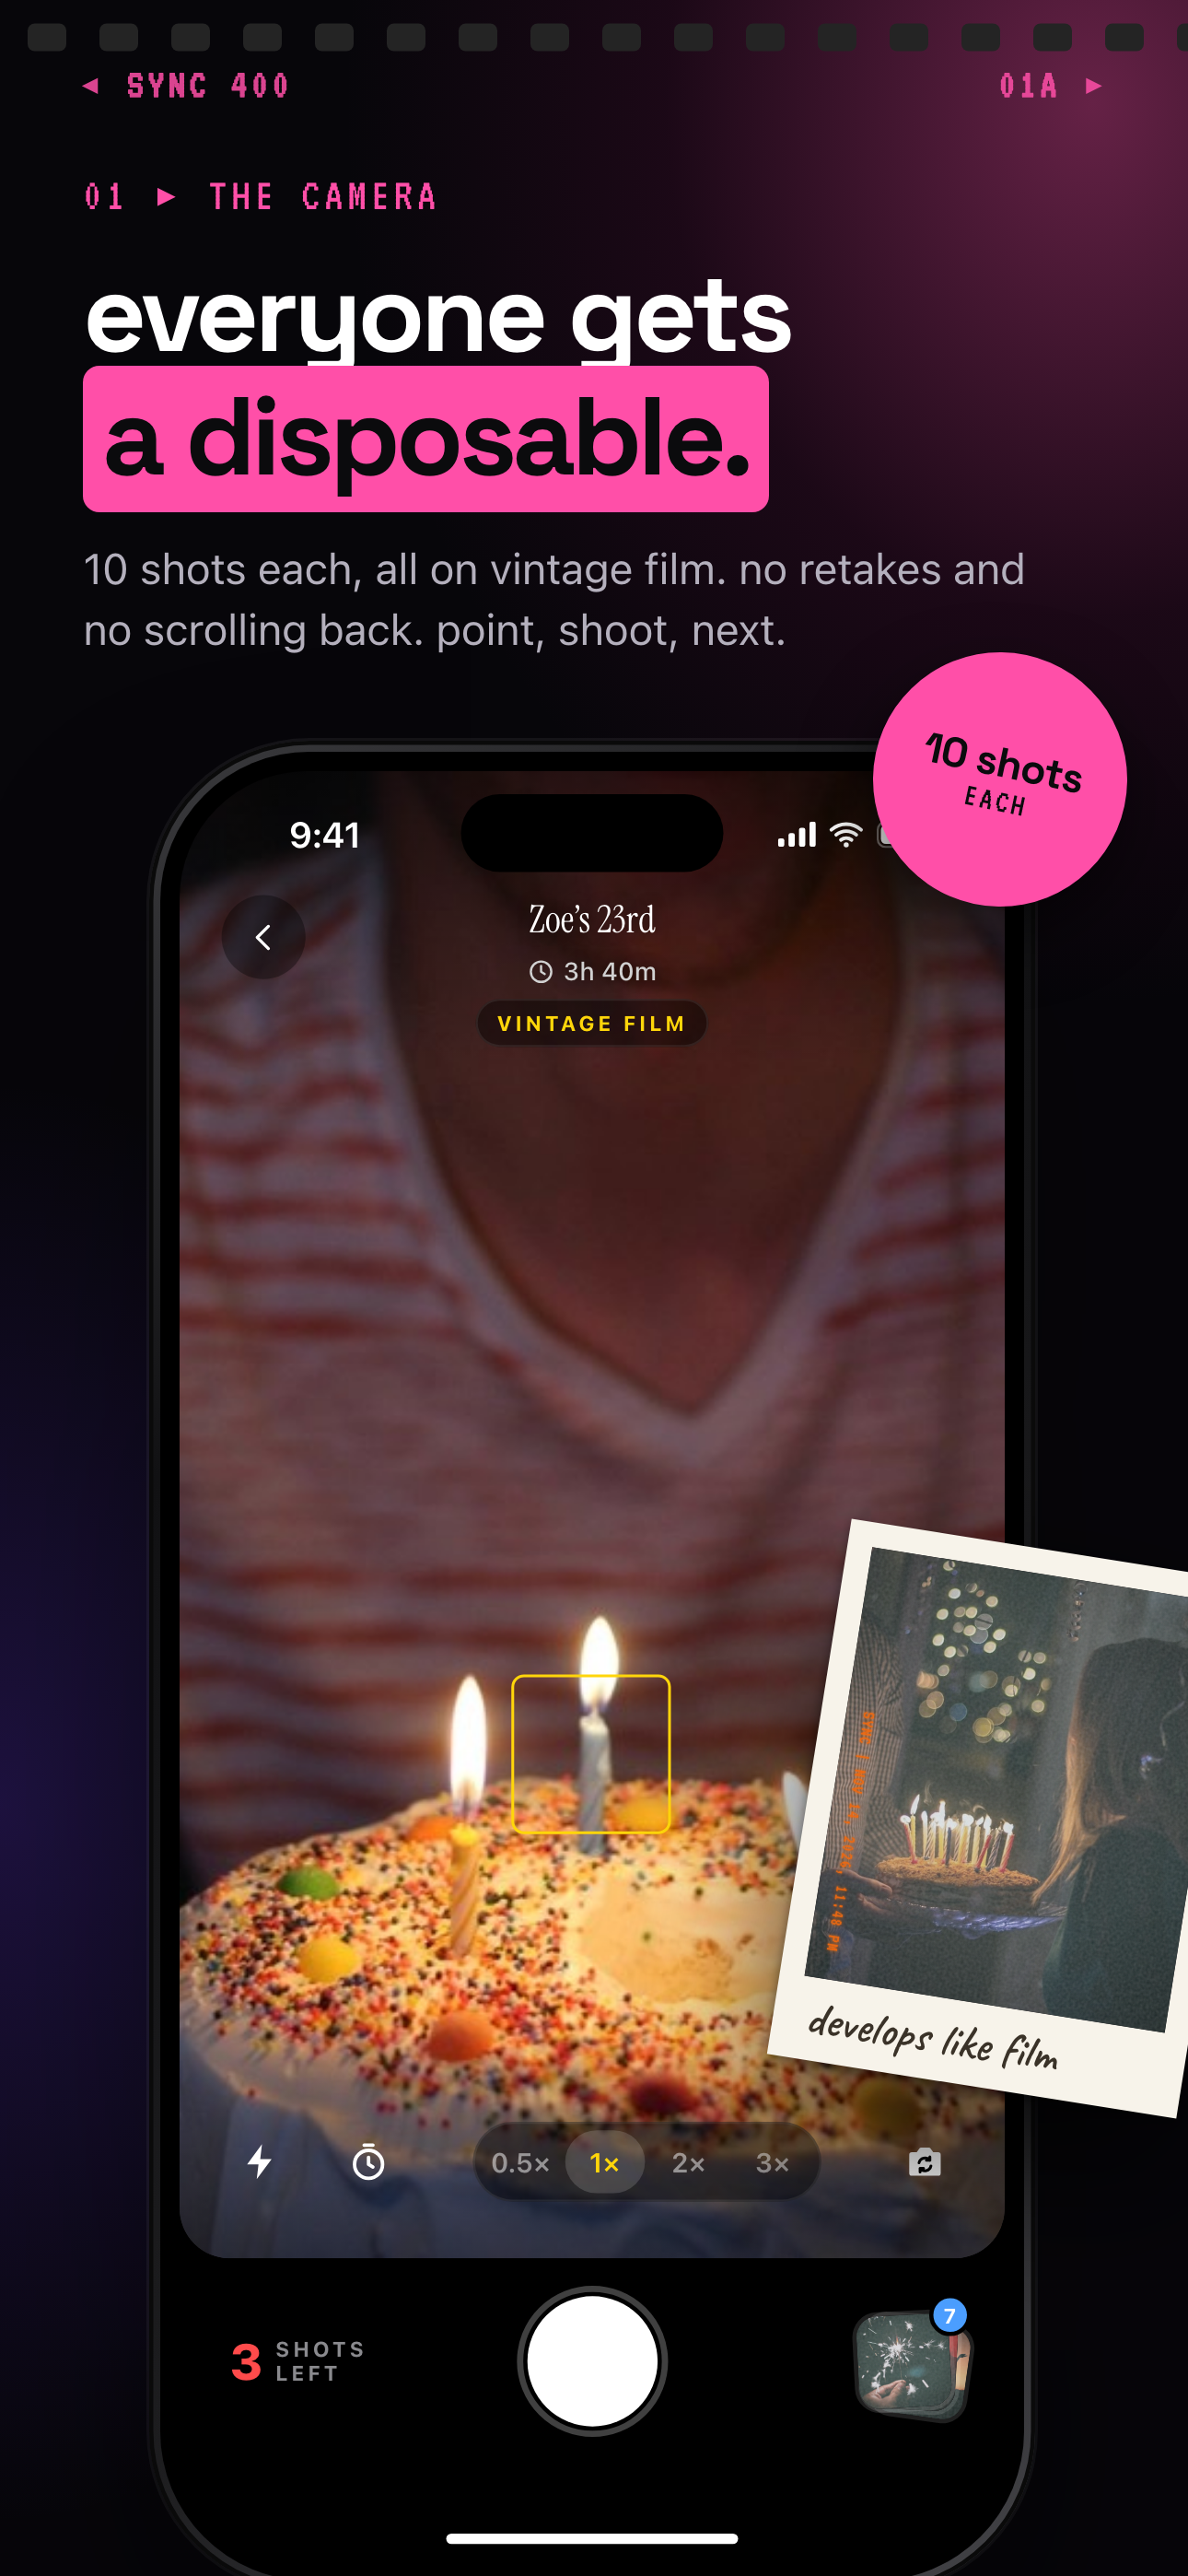
SYNC's in-app camera gives guests a set number of shots on a vintage film look, like a digital disposable.
How to Develop and Share Disposable Camera Photos
When the roll is finished, do not try to remove the film yourself. Take or mail the whole camera to a film lab, drugstore photo counter, or camera store that processes 35mm color film.
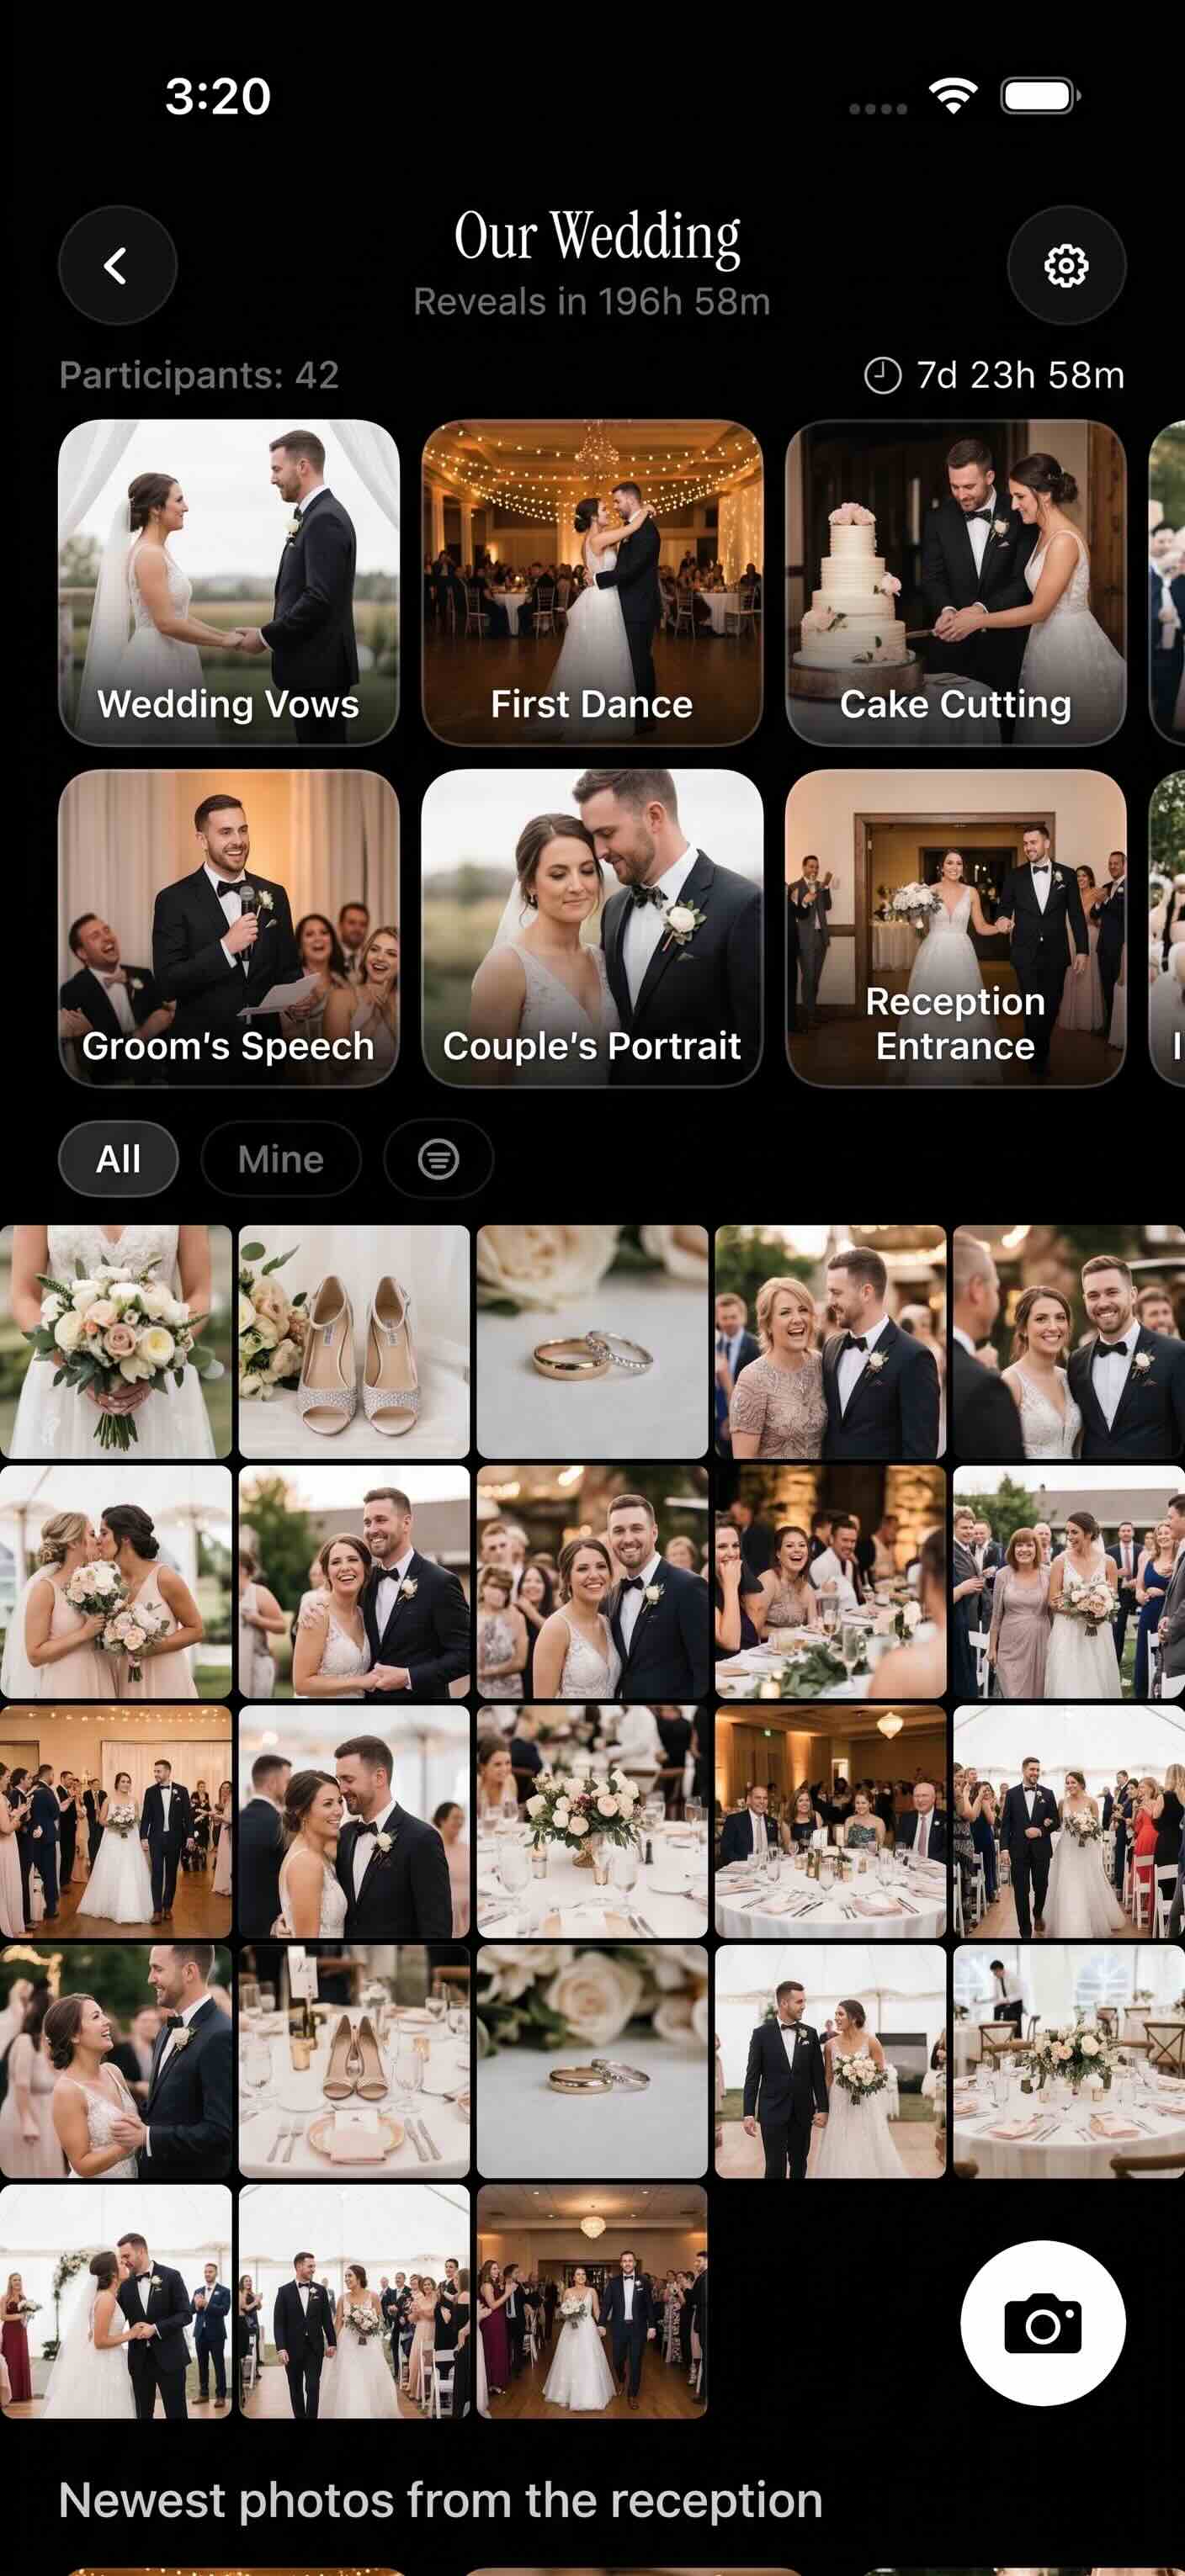 A private event gallery keeps developed scans and guest phone photos together for the right audience.
Where to take the camera
Ask the lab if they process disposable cameras or 35mm color negative film. Most consumer disposable cameras use C-41 color negative processing, but check the camera label or the lab's instructions before you send it in.
If the camera was used at a wedding or trip, label it before drop-off. Write the event name and date on a bag or note. Do not write directly over any area the lab tells you to keep clear.
Prints and scans
If you want to share the photos online, ask for digital scans. Many labs can return negatives, prints, and scan files.
Keep the negatives. They are the original source. If a scan is lost, cropped poorly, or exported at low quality, the negatives give you a way to make better scans later.
Sharing photos privately
Do not upload every scan publicly by default. Event photos often include guests, children, private rooms, travel details, and candid moments. Share only with the people who should see them.
If you are using SYNC for the event, add the scanned disposable camera photos to the same private collection as the phone photos. That keeps the final story in one place without turning a private event into a public album.
Travel Tips: Disposable Cameras and Airport Security
Travel can affect undeveloped film. Plan before you pack, especially if you are carrying several cameras for a trip or destination wedding.
Carry-on vs checked luggage
Keep undeveloped film and disposable cameras in carry-on luggage, not checked luggage. Checked baggage screening can be stronger than carry-on screening, and it may affect film.
This matters more for higher-speed film. Many common disposable cameras use ISO 400 or ISO 800 film.
Requesting hand inspection
In the United States, TSA guidance says travelers may request hand inspection for photographic film. Federal regulation 49 CFR 1544.211 also covers inspection of photographic equipment and film packages without X-ray exposure when requested.
Put cameras and loose film in a clear bag before security. Ask for hand inspection before the items enter the scanner.
Rules can vary by country and airport. Verify local airport rules before travel if you are outside the United States.
Protecting used film
After shooting, treat the camera like undeveloped film. Keep it away from heat, direct sun, and glove compartments. Do not leave it in a parked car.
Develop the camera soon after the event or trip. Waiting a little is normal. But heat, rough storage, and repeated scanning can increase risk.
Disposable Camera FAQ
Can you reuse a disposable camera?
Most consumer disposable cameras are designed for one-time use. Some labs recycle or refurbish camera bodies after processing. As a user, you should treat the camera as single-use unless the lab or manufacturer says otherwise.
Can you take selfies?
Yes, but selfies are unreliable. There is no front screen. The viewfinder is not facing you. Close focus can also be poor.
If you try one, hold the camera a little farther away than a phone. Use flash in dim light. Expect imperfect framing.
How many photos do you get?
Many common models, including Kodak FunSaver and Fujifilm QuickSnap versions, offer 27 exposures. Check the packaging or frame counter on your camera.
Remember that the counter often shows shots remaining. Wind after each photo so the next frame is ready.
Why are my photos dark or blurry?
Dark photos usually come from not using flash, being too far from the flash range, or shooting in very low light.
Blurry photos usually come from being too close, moving the camera, shooting a fast-moving subject, or using the camera in low light.
The best fix is simple. Use bright light when you can. Use flash when the scene is not sunny. Keep people within range. Hold still. Wind after every shot.