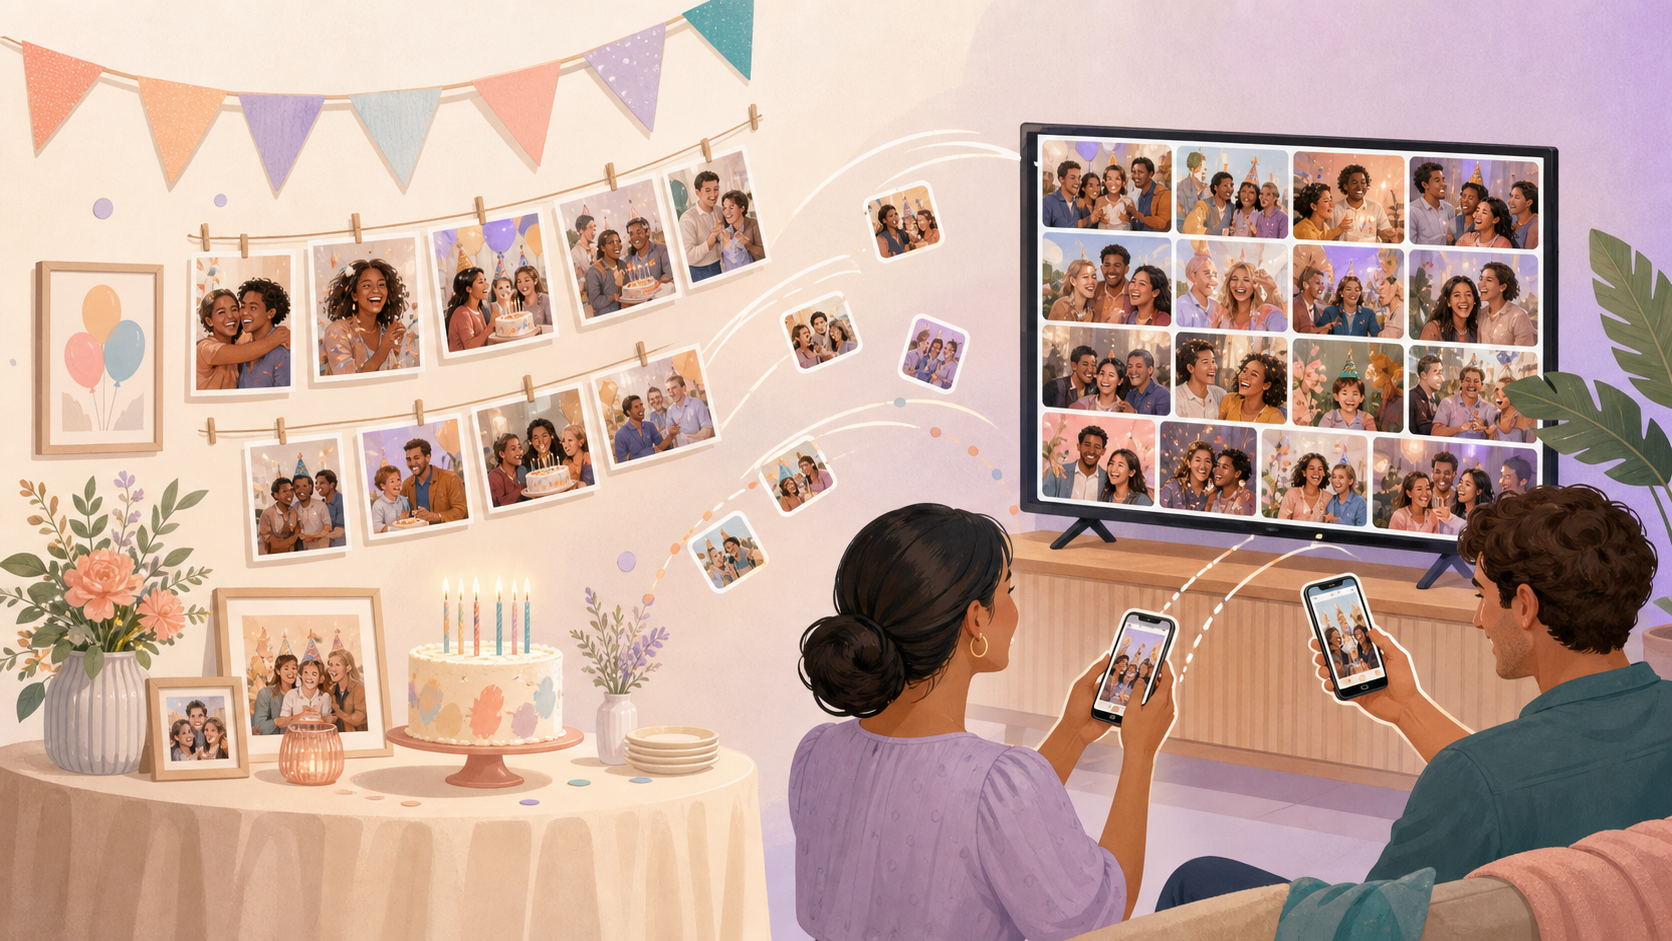
A birthday party produces hundreds of photos. Almost none of them end up in one place. This guide covers every practical way to fix that — physical displays like photo walls and booths, and digital options like slideshows and shared galleries.
Why the way you display party photos matters
The scattered-photos problem
Every guest carries a camera. Every guest uses it. The result: dozens of separate photo streams, one per phone. Nobody sees the whole party at once. The best candid of the night might sit unopened in someone's camera roll for a week, then get lost in a group chat that scrolls too fast to keep up with.
What a good display setup actually solves
A good setup pulls those separate streams into one place. This guide splits the options into two families. Physical displays — printed photo walls, garlands, and photo booths — turn some of those photos into decor guests can see and touch. Digital displays — slideshows and shared event galleries — turn them into a live or after-the-fact feed guests can watch on a screen. Most parties end up combining both.
Classic physical ways to display photos
Printed photo walls, garlands, and frames
The classic approach: pick your favorite photos ahead of time, print them, and hang them as decor. A garland is usually mini clothespins clipped to a length of twine or ribbon, strung along a wall or table skirt. A photo wall is the same idea with frames or a grid of prints instead of a string. Standard 4x6 or 5x7 prints work for both — a 6-foot garland typically needs 15 to 20 prints spaced a few inches apart to look full instead of sparse.
Photo booths with instant prints
A photo booth adds a live element on the day itself. Guests step in, pose, and walk away with an instant print — usually from a compact printer built into or plugged into the booth. Setting one up takes a power outlet, a backdrop stand, a small prop table, and enough floor space for a short queue. Rental companies typically bundle the booth, backdrop, and an attendant into one package. Some hosts build a simpler DIY version instead, with a ring light, a phone on a tripod, and a portable printer. Photo booths have a long history at public events — Wikipedia's overview of the format traces it back over a century, which is part of why the format still feels familiar to guests today.
Both options share the same limitation: they only capture a slice of the party. A photo wall shows the shots you picked in advance. A photo booth shows only what happened at the booth. Neither shows what every guest's own camera saw while walking around the rest of the party.
Run a live slideshow on a TV or projector
The manual way: one phone plugged into a screen
The simplest digital option: connect a single phone or laptop to a TV or projector and click through one person's camera roll. On Apple devices, that usually means an HDMI adapter and cable, or a wireless AirPlay connection straight to a compatible TV or Apple TV box — Apple's own AirPlay support page covers both methods. HDMI is the standard most modern TVs and projectors use for a wired connection, so it's the safer fallback if the venue's Wi-Fi is weak. Either way, someone has to hold the phone, pick the photos, and keep clicking, for the whole party.
The live way: a shared gallery feeding the screen automatically
The alternative removes the manual clicking. A shared event gallery collects photos from every guest's phone in one place, then feeds a connected screen automatically. New photos appear as they're uploaded. Nobody curates it in real time — the screen just updates itself. That's the core difference from the manual method: one phone shows one person's photos, a shared gallery shows everyone's.
Renting a bigger screen or a projector for this is a real cost some hosts weigh. But the price swings a lot by screen size, rental length, and delivery — enough that we won't put a single number on it here without a rental quote in hand.
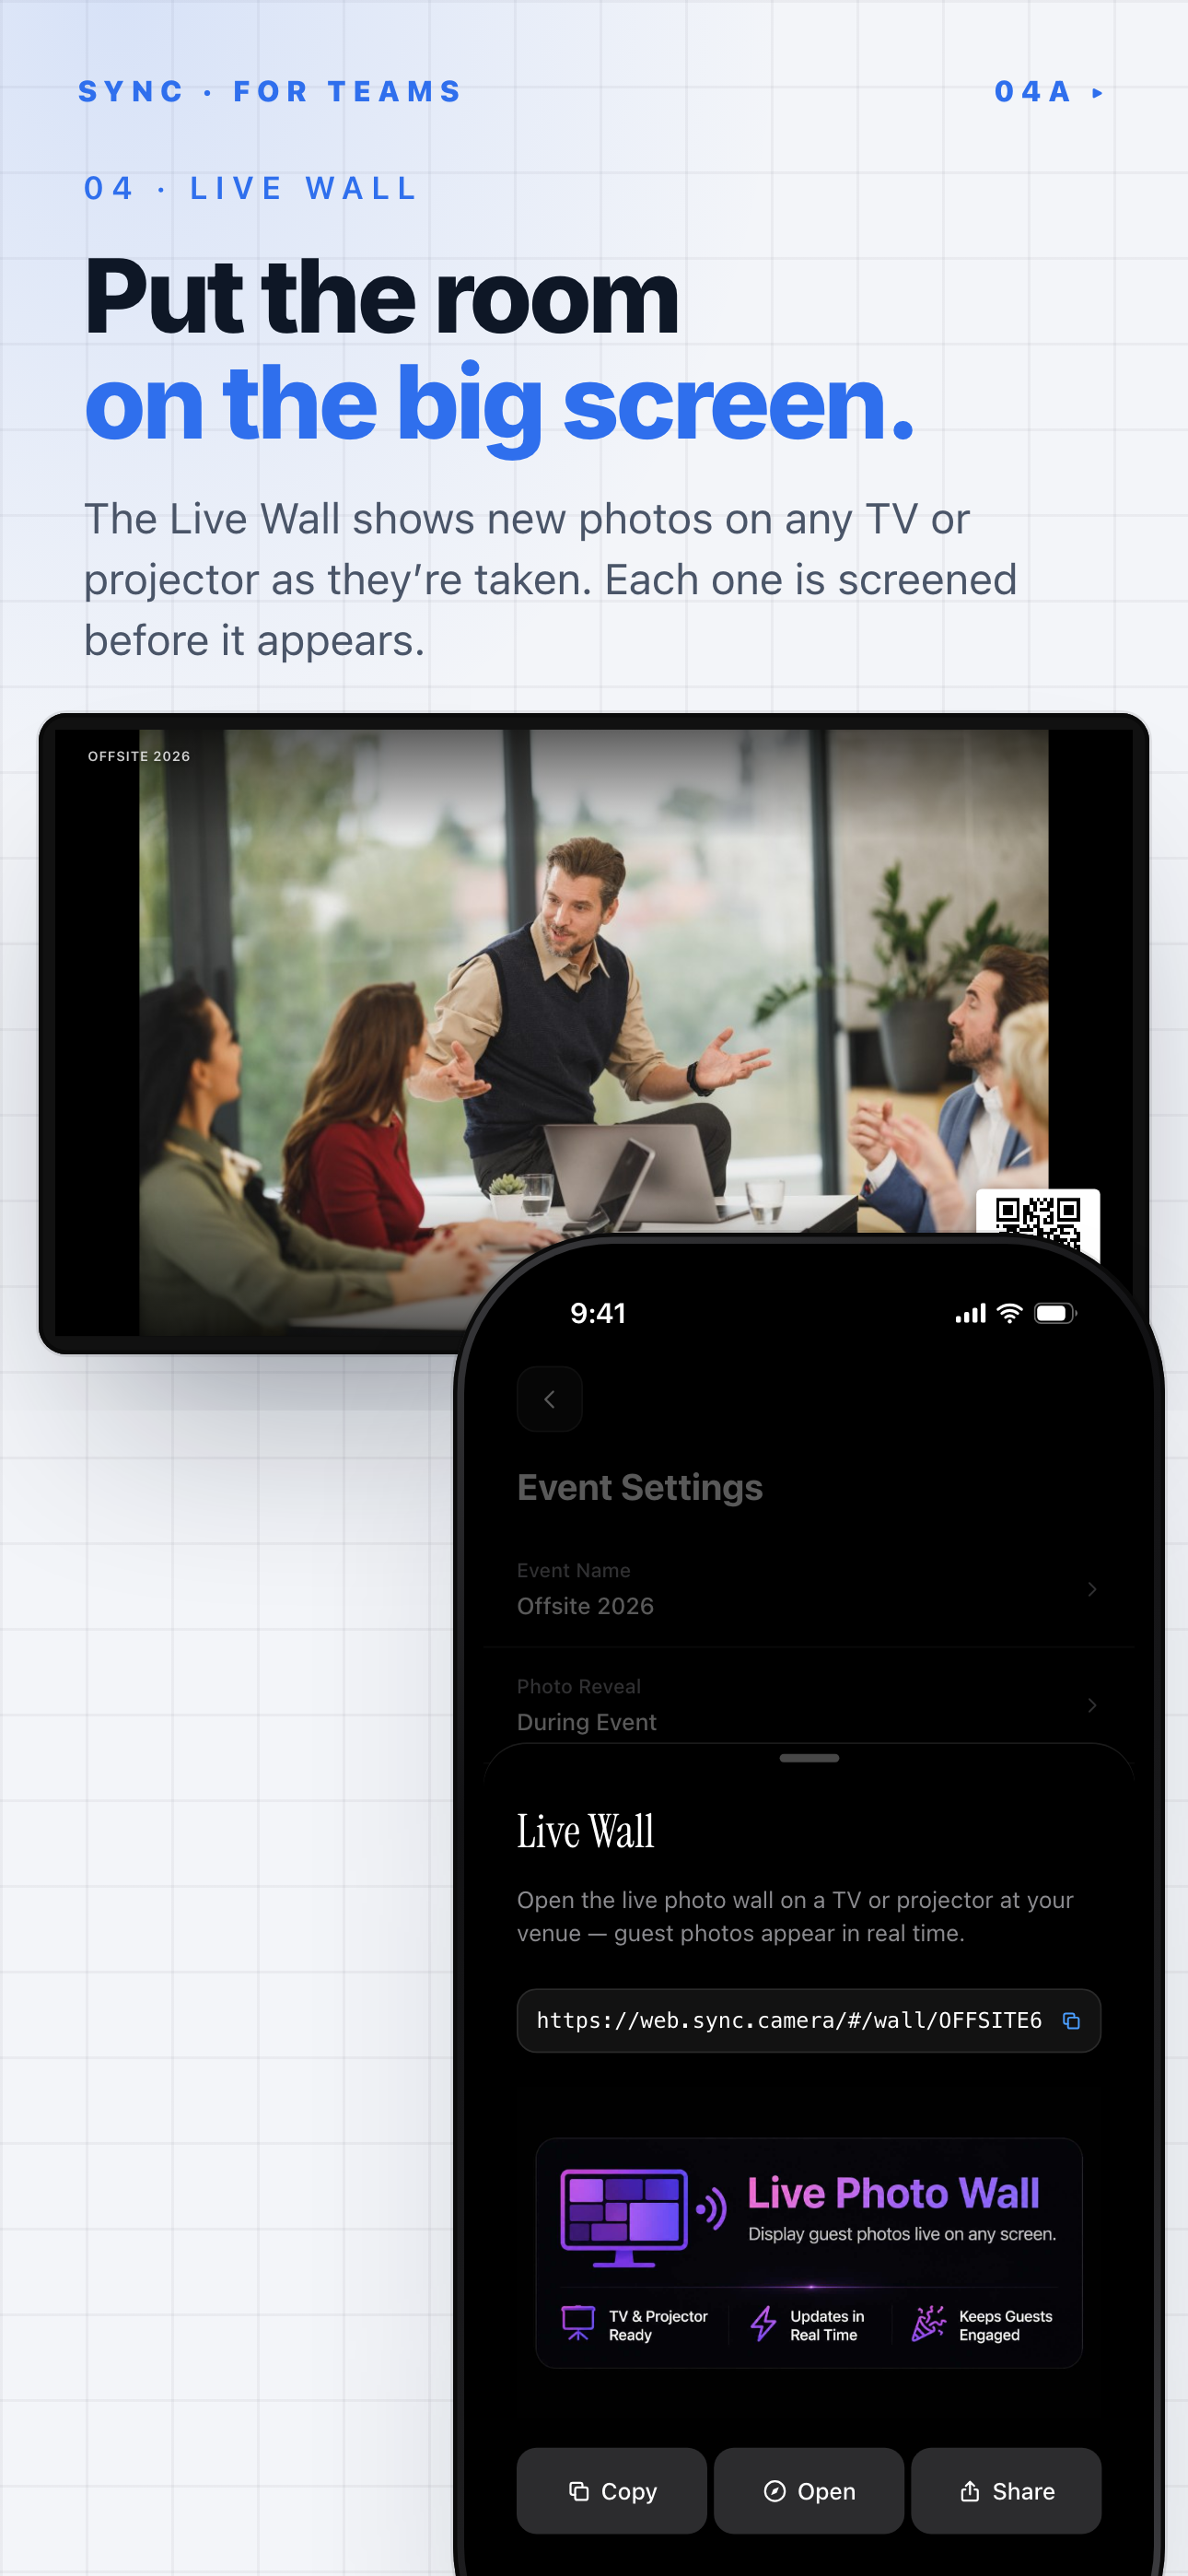
SYNC's Live Wall opens on a TV or projector and shows guest photos as they are taken.
Let guests add photos instantly with a QR code
How the scan-to-join flow works
A QR code removes the app-download step entirely. A guest points their camera at the code, taps the link that pops up, and lands directly on the event's upload page. No separate app account is required to contribute. The guest picks photos from their camera roll, or snaps new ones, and uploads them right there. A QR code is just a two-dimensional barcode; the useful part is the upload page it points to.
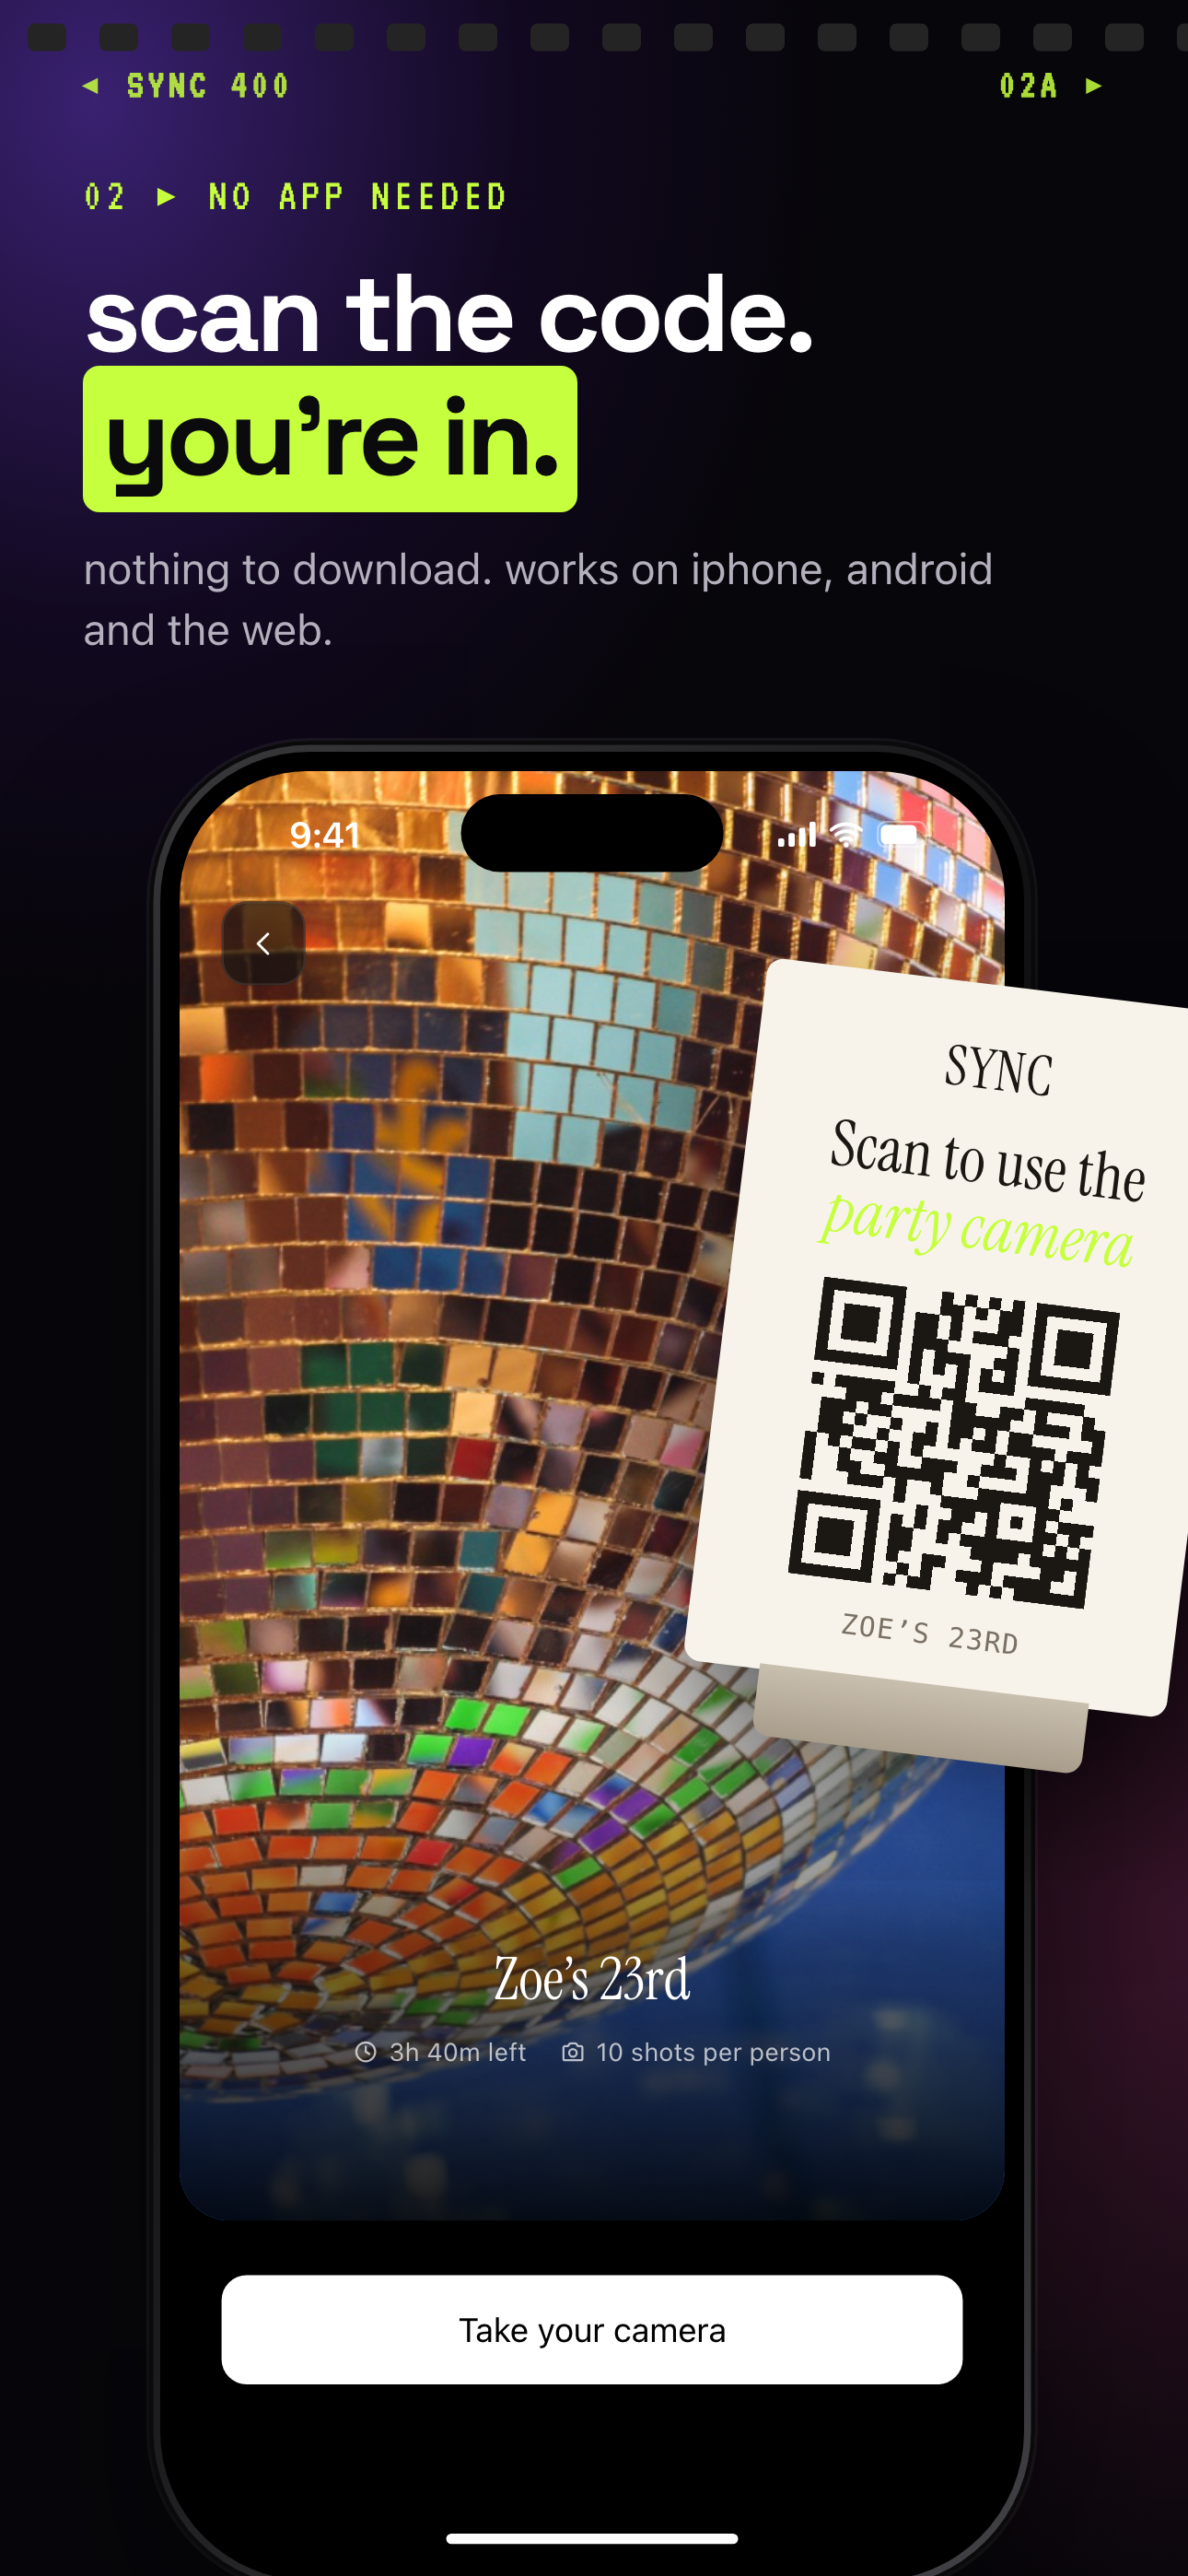 Scanning the party's QR code opens the event's join screen; no account is needed to take part.
Where to place the QR code at the party
A QR code works anywhere a guest will glance during the party: printed on the invitation, propped on a sign at the entry table, tucked next to the cake, or printed onto a party favor guests take home. Multiple placements matter more than one perfect one. A guest who missed the sign at the door might still catch it on the cake table.
This is also where the privacy-forward point matters most. No forced login and no account creation means the guests who'd normally skip sharing, because they don't want another app, another password, another notification, actually contribute. See our QR code photo sharing guide for the full setup walkthrough.
Decide how many guests can contribute
Free-tier guest limits
Not every shared-gallery tool scales the same way. Many cap free events at a small guest count. sync.camera's free tier, for example, supports up to 7 guests before an upgrade is needed. That's fine for a small family dinner. It's tight for a birthday party with cousins, neighbors, and a full guest list.
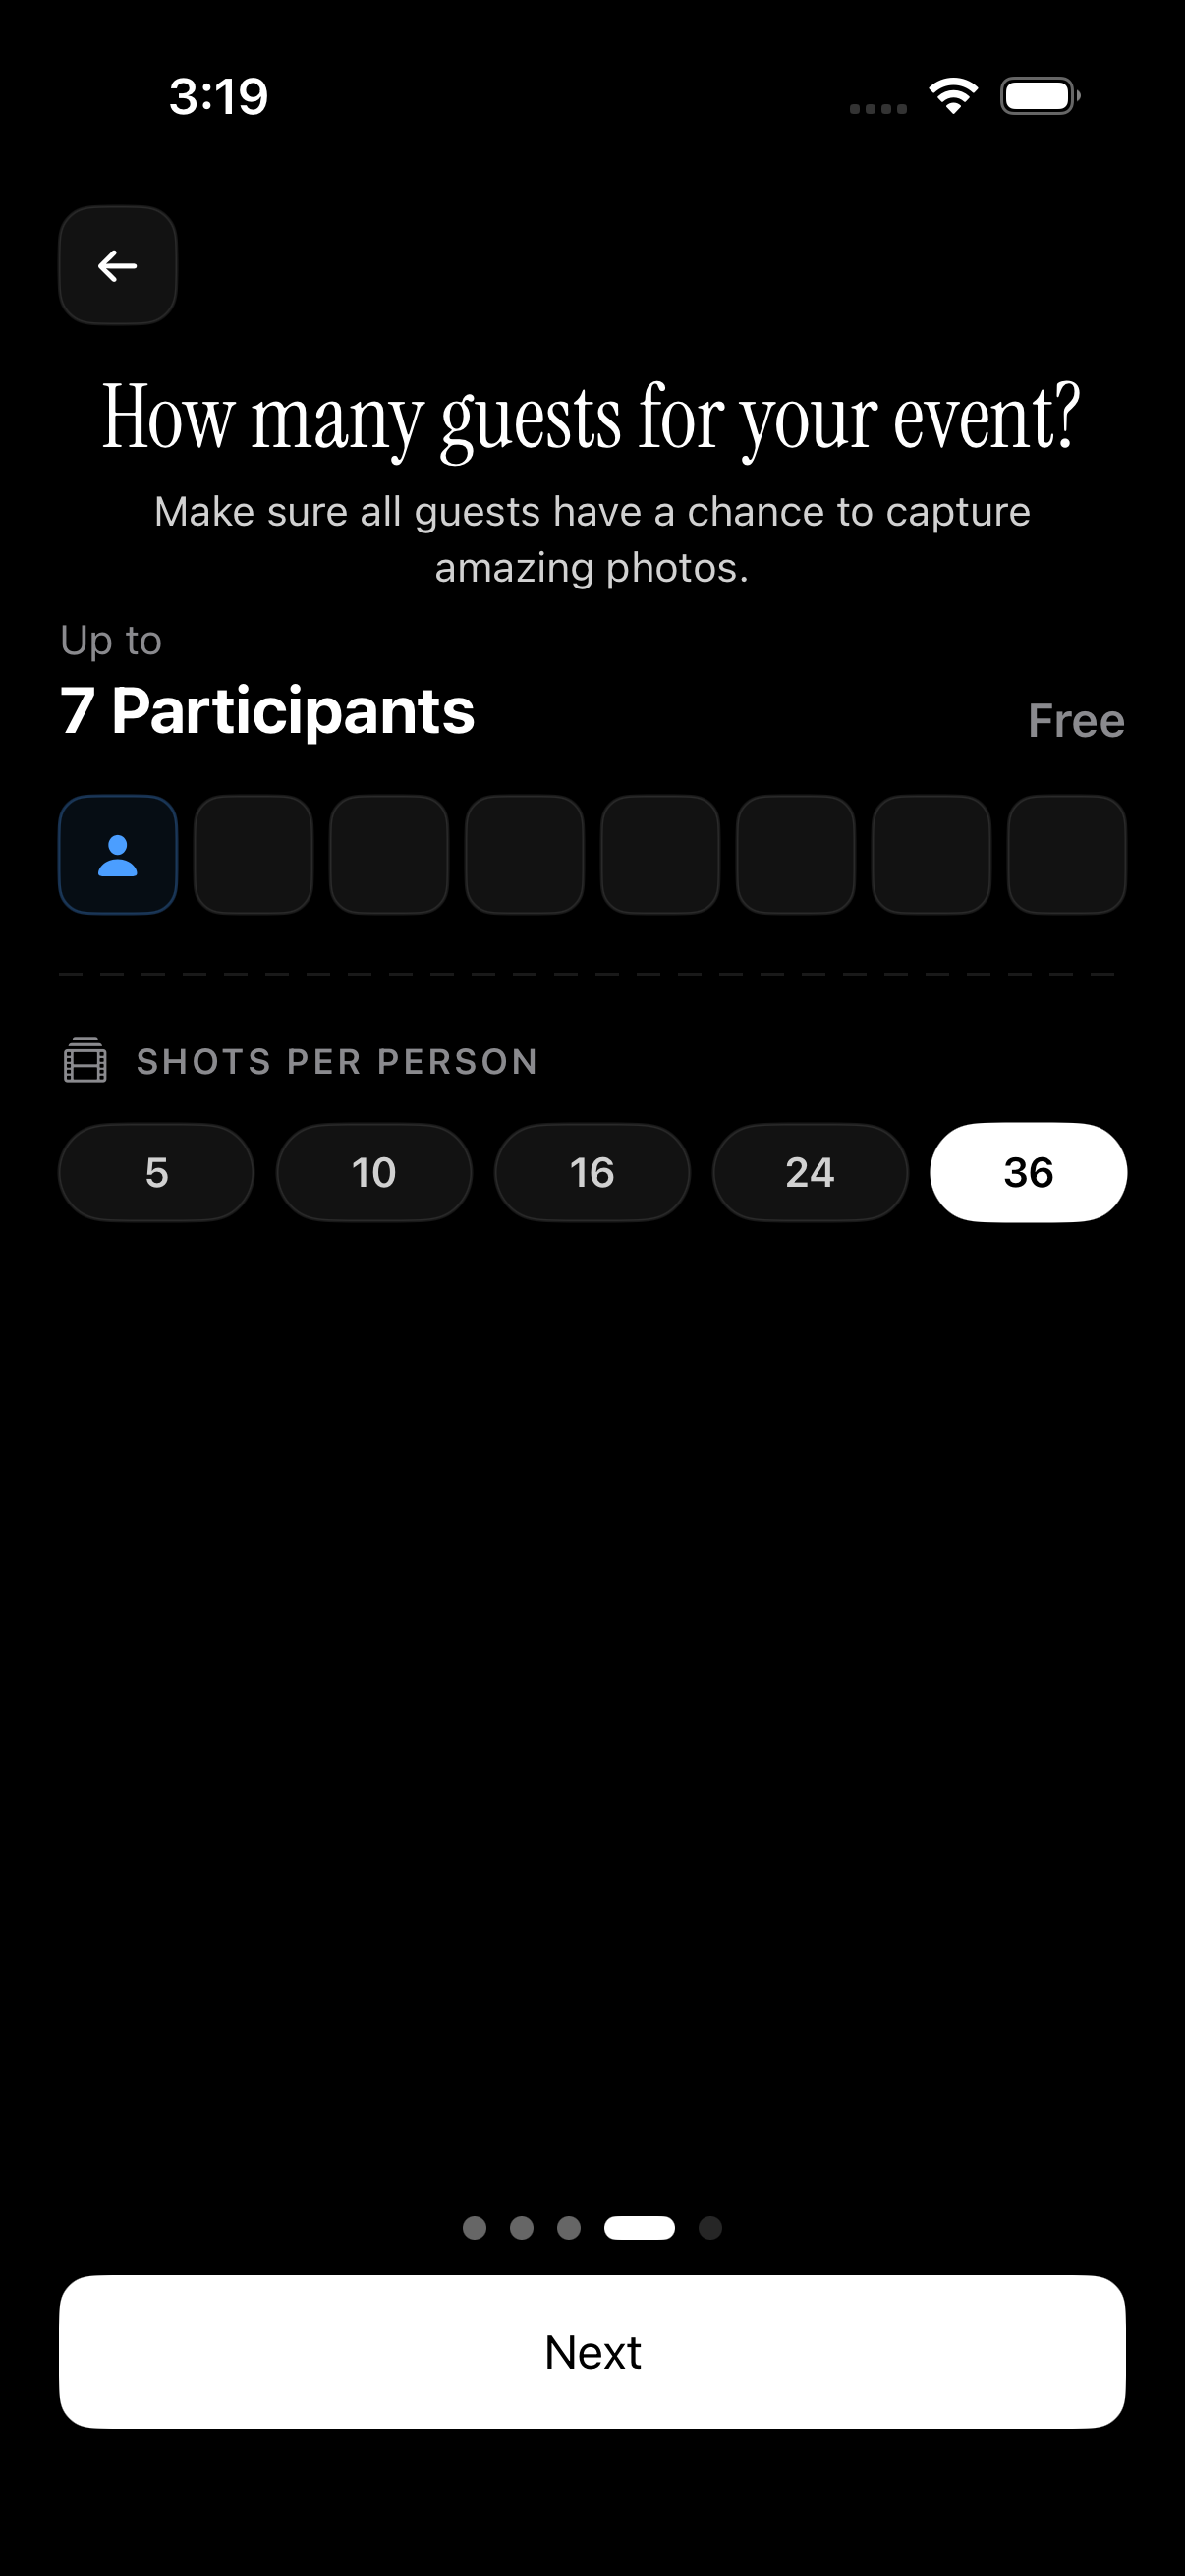 The guest-count picker: this is the exact screen where the free-to-paid line gets drawn.
Upgrading for bigger parties
Paid tiers typically remove that cap and unlock unlimited guest uploads. For a birthday party with more than a handful of guests, checking this limit before the party, not during it, avoids a surprise mid-event upgrade prompt. Full breakdown here: pricing and guest limits.
Choose when photos appear: live feed vs. surprise reveal
Live feed: photos show up as they're taken
In live mode, uploaded photos appear on the display within moments. The screen keeps pace with the party. A photo taken during the cake cutting shows up on the TV before the candles are out. That immediacy is part of the appeal: it keeps the room's energy visible to everyone, not just the person holding the phone.
Delayed or after-event reveal for a surprise gallery
Some hosts want the opposite: a surprise. Reveal settings let a host hide the gallery entirely until the event ends, or release it after a chosen delay. Guests still upload throughout the party. They just don't see the collected result until later, which turns the gallery itself into a small reveal moment instead of a live feed.
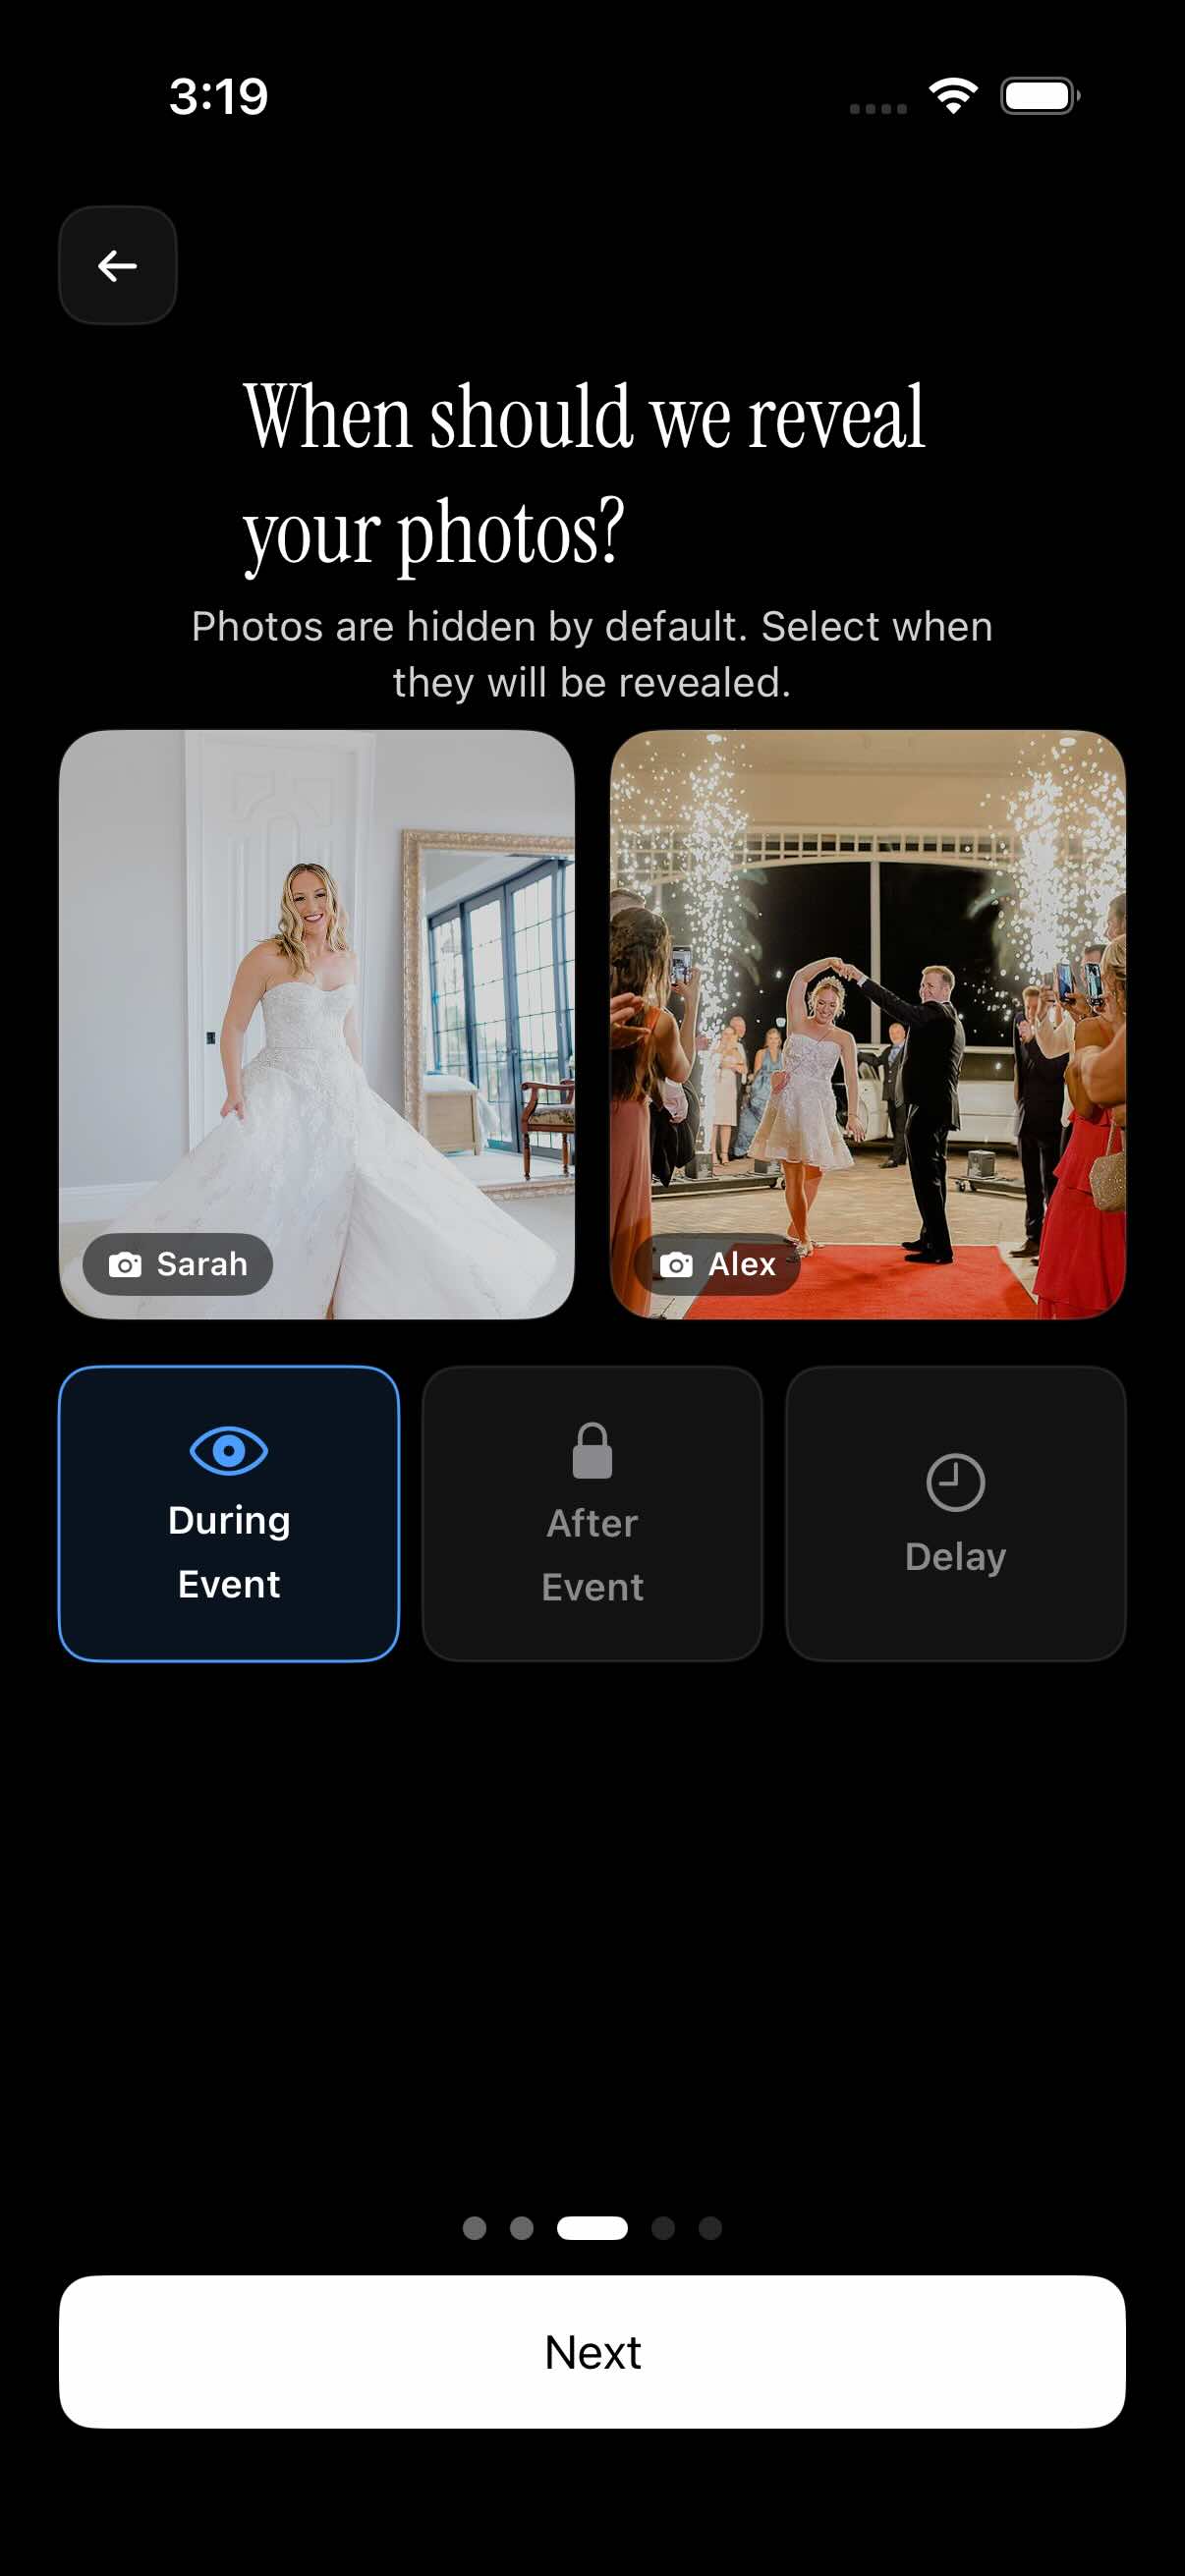 This is the actual reveal-timing setting, during, after, or delayed, the three choices described above made concrete.
Read more in our gallery reveal timing guide for how each setting changes the guest experience.
Keep the gallery focused with an event date range
Setting the event's start and end
A shared gallery isn't just a folder. It's scoped to a window of time. Hosts set a start and end date and time for the event, and only photos taken inside that window are accepted into the gallery. A guest scanning the same QR code a week later, with vacation photos sitting on their camera roll, won't accidentally add those to the party gallery.
Why this filters out unrelated photos
This matters more than it sounds. Phones mix old and new photos in the same camera roll. Without a date range, an upload flow would have to trust every guest to hand-pick only the relevant shots. With one, the gallery filters automatically, keeping the display free of anything that isn't actually from the party.
Picking the right approach for your birthday party
Small family gathering vs. large party
A small family dinner with ten guests doesn't need the same setup as a fifty-person backyard birthday bash. Match the method to the size of the guest list, not the size of the ambition.
Matching the method to your guest list and budget
Before picking a method, weigh four things:
- Guest count — a free tier with a low cap works for a small gathering; a bigger party needs an unlimited-upload plan
- Budget — printed decor and DIY slideshows cost little beyond time; booths and rented screens cost more
- Whether a live big-screen moment matters — some hosts want the party itself to feel like an event, with photos appearing in real time on a screen
- How much post-party photo access guests want — a shared gallery keeps working after the last guest leaves; a photo wall comes down with the rest of the decor
Here's how the main options stack up against each other:
| Method | What it captures | Setup effort | Cost driver | What it misses |
|---|---|---|---|---|
| Printed photo wall / garland | Pre-selected shots, chosen in advance | Low — print and hang before the party | Printing costs, frames or clips | Nothing taken during the party itself |
| Photo booth | Whatever happens at the booth | Medium — backdrop, printer, power, floor space | Rental length, attendant, instant-print add-ons | Everything that happens away from the booth |
| Manual slideshow (HDMI/AirPlay) | One person's camera roll | Low — one cable or connection | Screen or projector rental, if any | Every other guest's photos |
| Shared event gallery (QR-based) | Every guest's uploads, live or delayed | Low — set up once, share the code | Guest-count tier, upgrade if needed | Nothing that gets uploaded; coverage depends on guests actually scanning in |
No single method covers everything, which is why combining two of them tends to work best. A printed photo wall gives the party a decor moment guests can walk up to. A QR-code shared gallery running alongside it means no guest's photos get stuck on their own phone. The same approach carries over well beyond birthdays too, including wedding photo sharing and other events with a big, scattered guest list.